Add a Recording
If you are uploading a recording from a live Teams Meeting or Town Hall, first download the recording and save it locally on your computer.
Navigate to the Basics Step.
Select the folder icon.
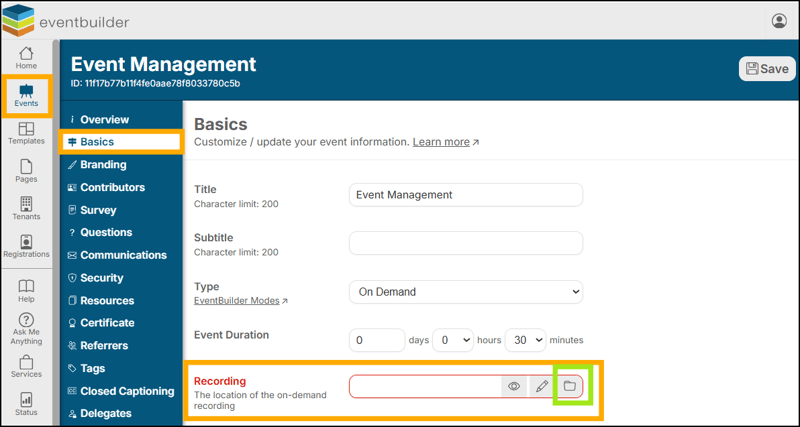
Browse to your recording file and select Open.
Important: Uploading time will vary depending on the size of the recording and your internet connection.
While the recording is uploading:
-
Do not make any additional edits to the event.
-
Wait until the progress bar has completed.

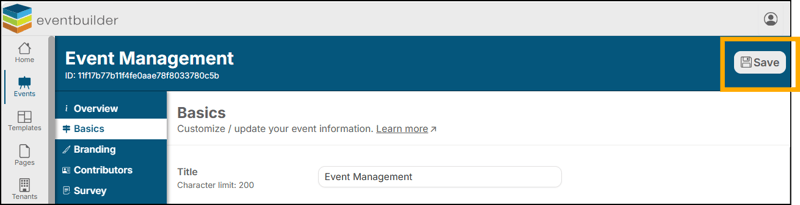
Ensure the Save button in the top-right corner becomes active (white).
Once the upload has finished, select Save to retain the recording against your event.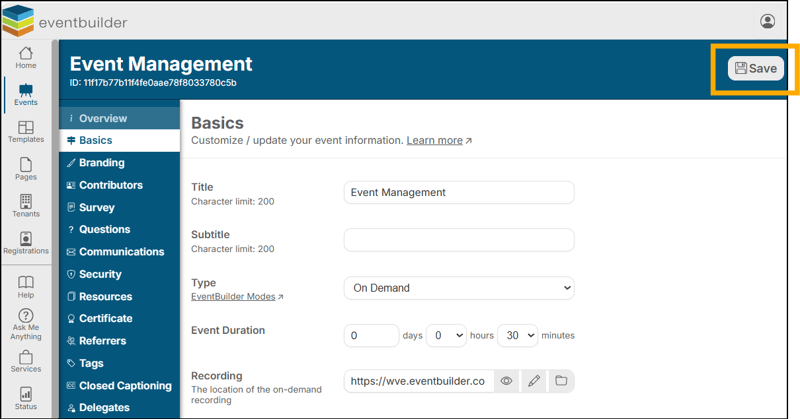
View a Recording
After uploading, you may wish to confirm the correct recording has been added.
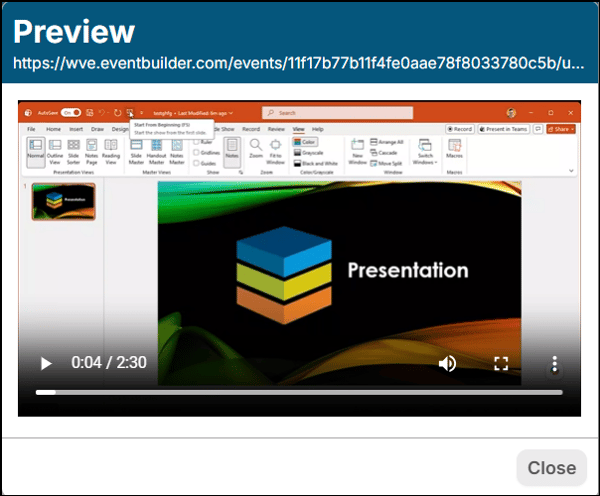
Select the eyeball icon.

A preview window will open and the recording will begin playing automatically. Use this preview to verify that the correct file has been uploaded and that the content plays as expected.
Edit a Recording
EventBuilder includes a simple editor that allows you to trim content from the start or end of a recording.
This is ideal for removing:
-
Pre-event waiting time
-
Presenter setup or testing chatter
-
Post-event discussions
-
Q&A sessions you do not wish to include in the final recording
To Edit a Recording
Select the pencil icon.

The editing window will open.
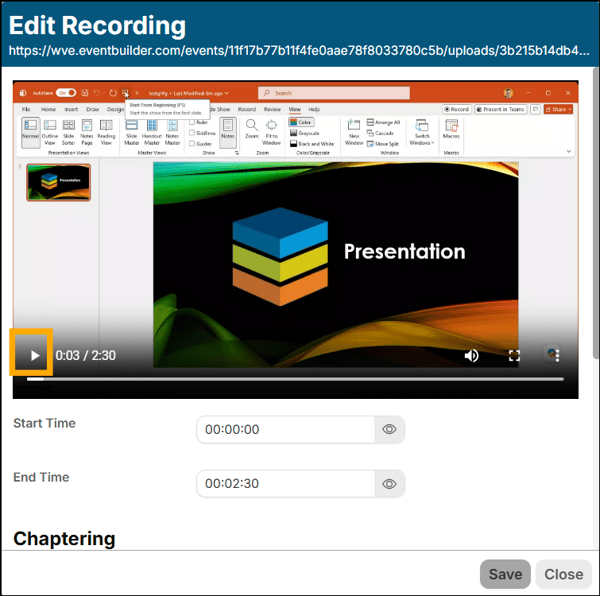
Play the recording or move through the timeline until you reach the point you want to become the new start time.
-
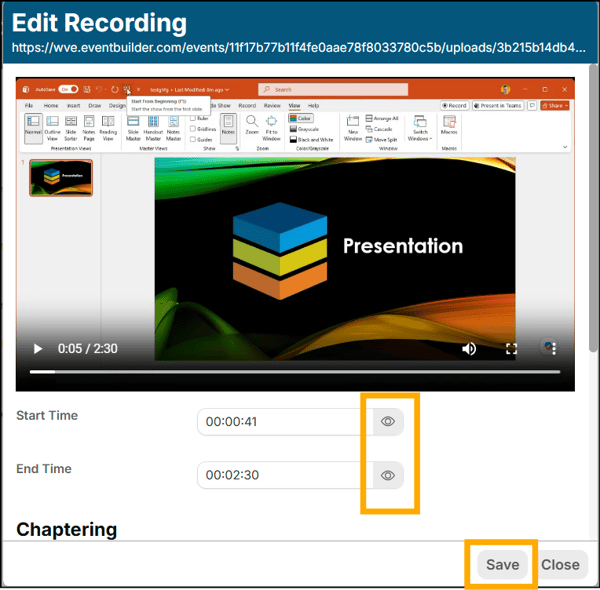
Select the eyeball icon beside the Start Time field.
-
Repeat this process to set the desired end point.
-
Select Save.
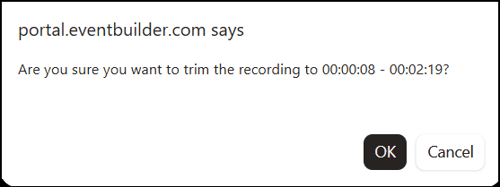
Confirm by selecting OK when prompted.
Then Save the changes to your event: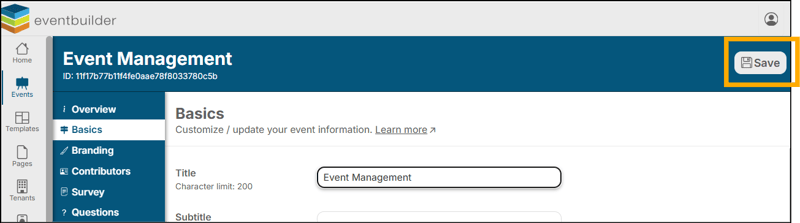
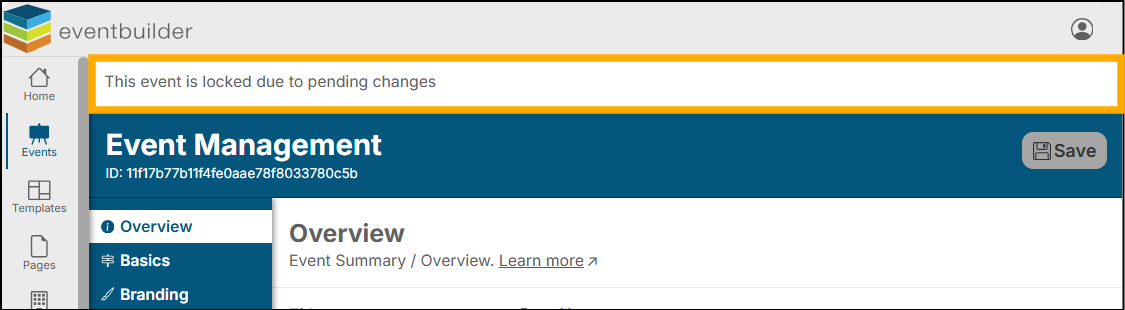
After Saving, a banner will appear at the top of the screen stating: "This event is locked due to pending changes." This indicates the recording is being processed.
-
Important:
-
Allow time for processing to complete (most small edits will take a minute or two)
-
The notification may remain visible after processing has finished so after a minute refresh your browser window. If the white banner no longer shows then your edits are complete.
-
Preview the recording again to confirm your edits have been applied successfully.
Chapter a Recording
Chapters help viewers quickly navigate to specific sections of a recording without needing to scrub through the timeline manually. This is particularly useful for longer presentations, webinars with multiple speakers, training sessions, or events covering several topics.
Add Chapters
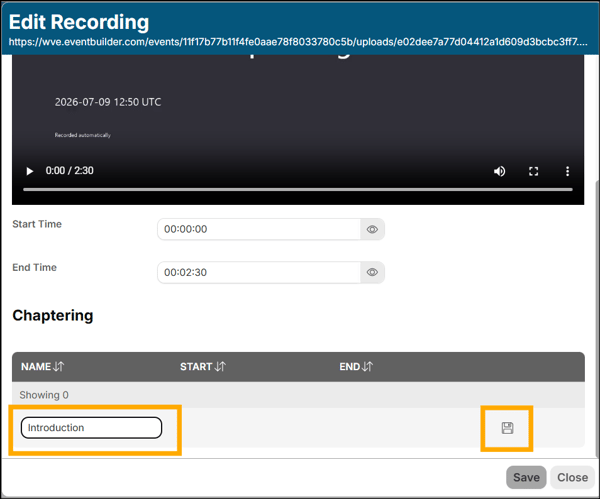
Select the pencil icon to open the recording editor.

Enter a chapter title in the chapter name field.
Select the disk icon to save the chapter name.
Set Chapter Start and End Points
You can define chapter timings in two ways:
Option 1: Use the Current Playback Position
-
Move through the recording to the required point.
-
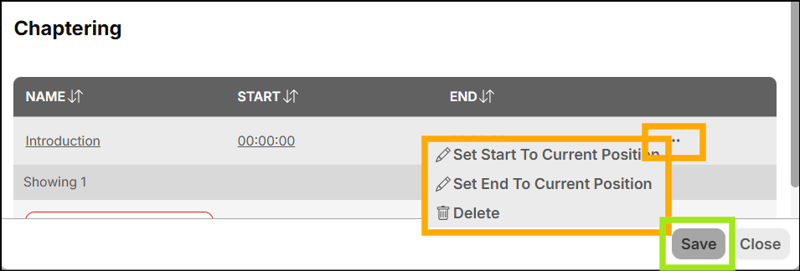
Select the three dots menu.
-
Choose:
-
Set Start to Current Position, or
-
Set End to Current Position
-
Option 2: Enter Times Manually
-
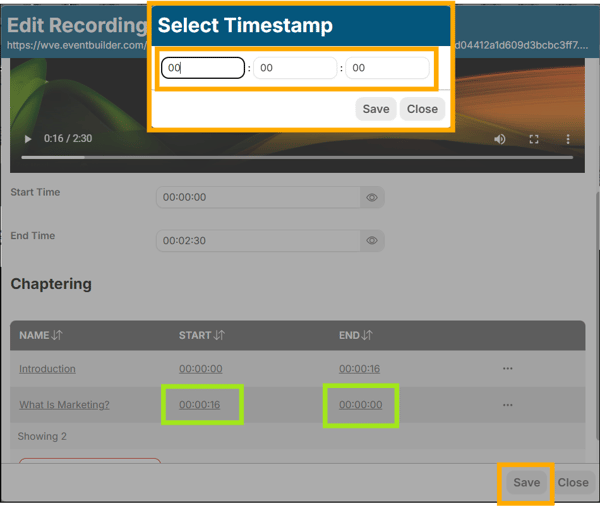
Select the time field.
-
Type the required timestamp in the pop up window, using the format: hours:minutes:seconds
-
For example: 01:15:30
-
-
Save Your Changes
Repeat the process until all chapters have been created.
Select Save within the editor window.
Save again in the Basics Step window:
Return to the Basics Step.
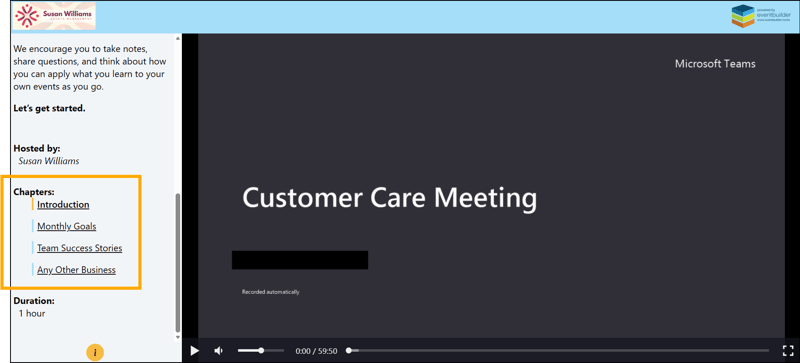
Your recording will now display chapter markers, allowing delegates to navigate directly to the content most relevant to them.Asseen here in the attendee viewer: