Building Events: Engage
Last updated: April 28, 2023
Opportunities for Presenters to engage audiences with questions, polls, surveys, and more are keys to successful Events. Adding these elements to Events also allows Organizers to collect data, gaining insights into their audiences for reporting. Here, Organizers have several options to create a meaningful, interactive experience for Presenters and Attendees.

A Note About Templates
When building an Event based on a Template, Files and Questions added at the Template level cannot be removed from Events built on the selected Template. Organizers can add Files and Questions to suit their individual Event. Explanatory text is included in the software:

Files
Organizers may add files to their Events to share information such as Privacy Policies, course outlines, presentation slides, and other Event information they would like to share with Invitees and/or Registrants.
To add a File to your Event, click on the green plus icon ('+').

The 'Select File' window will appear. To attach a File to your Event, upload a new File and/or choose from the Files list and click 'Select.'
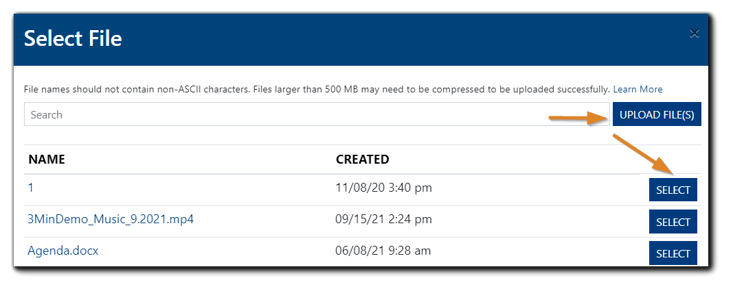
Once the File has been added, choose when Registrants will be able to access the selected File. Options are 'After Registration' and 'Always.'
If 'After Registration' is selected, Registrants will have access to the file once they have signed up for the Event. If 'Always' is selected, the chosen file will be accessible to anyone with the Registration Page link.
To delete the selected file, click on the red trash icon.

Learn more: File Repository Management.
Unified Question Bank
With the Unified Question Bank, Organizers can use and reuse questions, polls, surveys, and other audience engagement options before, during, and after an Event. Organizers can add their own to Templates and/or Events, or choose from options already available.
Learn More: Unified Question Bank.
Registration Questions, Polls, and Surveys
Organizers can select from the Unified Question Bank for each type of Engagement tool.
Registration Questions
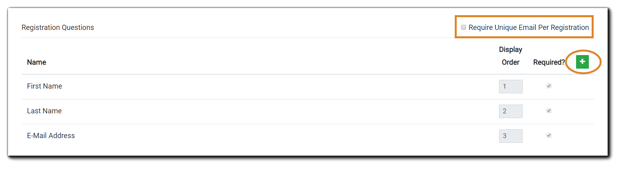
Note: The 'Require Unique Email Per Registration' option helps eliminate duplicate registrations, ensuring more accurate reporting.
To add Registration Questions to your Event, click on the green plus icon ('+')
First Name, Last Name, and Email Address are required and listed on all Events by default.
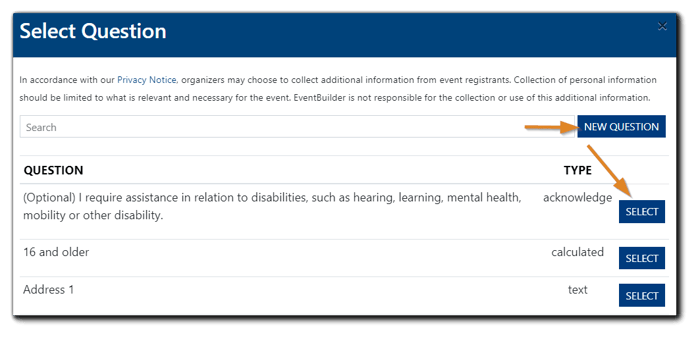
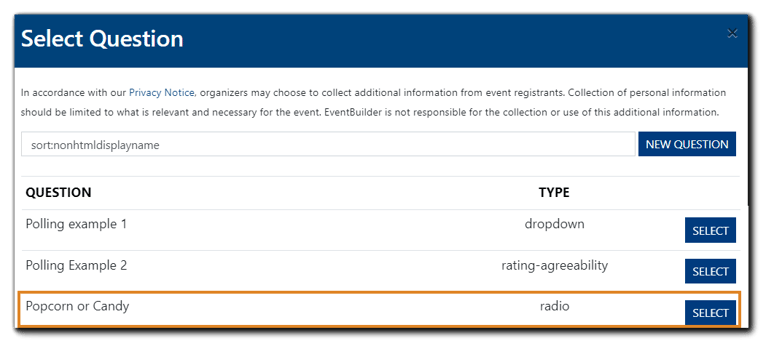
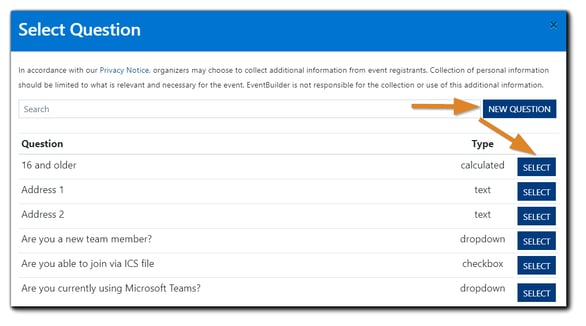
The Select Question dialog will appear. From the list, locate a Question you wish to add and/or create a Question, then click 'Select.'
The selected Question will be added to your Event:
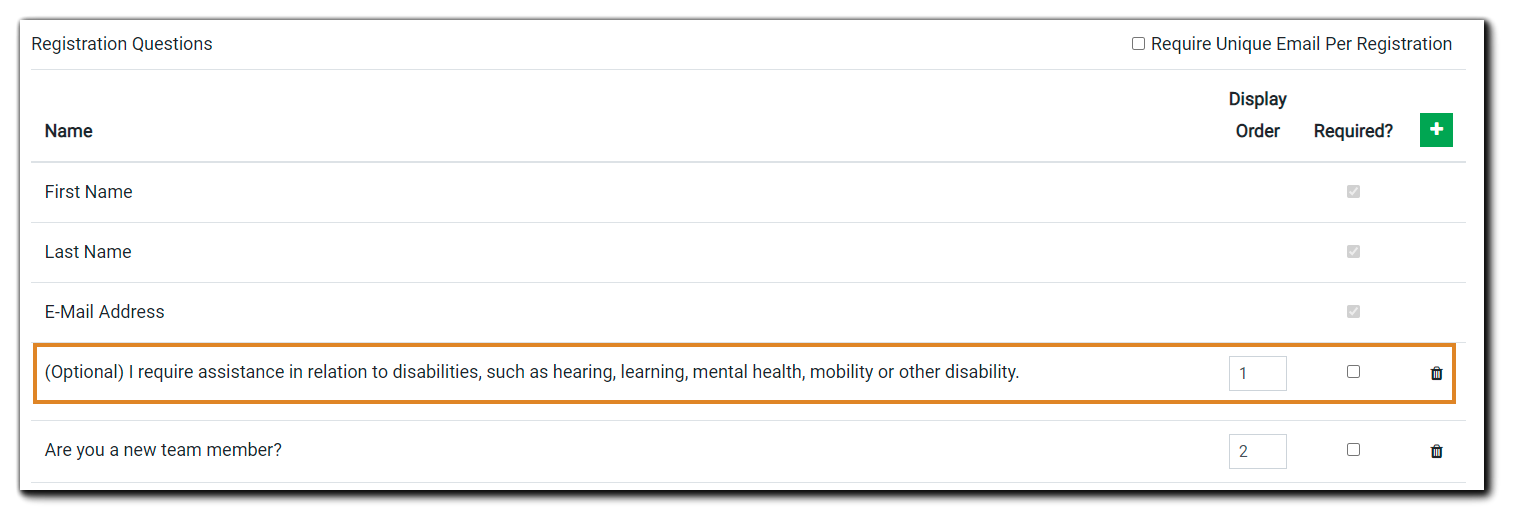
Click the 'Required?' checkbox to make the Question mandatory (optional). Click 'Save.'
Polls
Streaming and Simulated Live Mode - Poll questions can be created ahead of time or on-the-fly and launched to Attendees during the Live Event by the Presenter, Moderator, or Organizer.
On-Demand Mode - Polls launched during a Live Event are saved and available for an On-Demand Event. Organizers can edit, delete, and/or add polls for on-demand events as well. To customize polls for On-Demand events, access the Event's build in your Portal and navigate to the Engage step.
During an On-Demand viewing session, all polls will appear on the Polling Panel simultaneously (all at once) approximately 30 seconds into the recording's playback. Attendees can respond to the polls as if they were in the Live Event, and responses are available on Reports.To add a Poll, click on the green plus icon ('+'). Locate your poll question from the Question List or create a new poll question. Click 'Select.'

The Poll is now added to your Question Bank and your Event.
Survey Questions
Surveys provide valuable feedback Organizers can use to refine and improve their Events. For Streaming and Simulated Live Events, the Post-Event Survey questions appear in the left panel of the Attendee Viewing Console once the stream has ended.
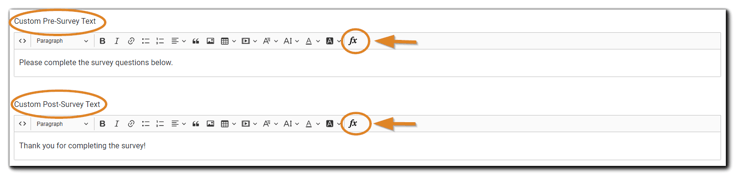
To customize the wording for your Pre- and Post-Survey text, use the HTML editor provided. The text you provide in the editors shown will appear before (above) and after (below) your survey questions.
 To add an Event Survey, click on the green plus icon ('+').

Add/create Questions.
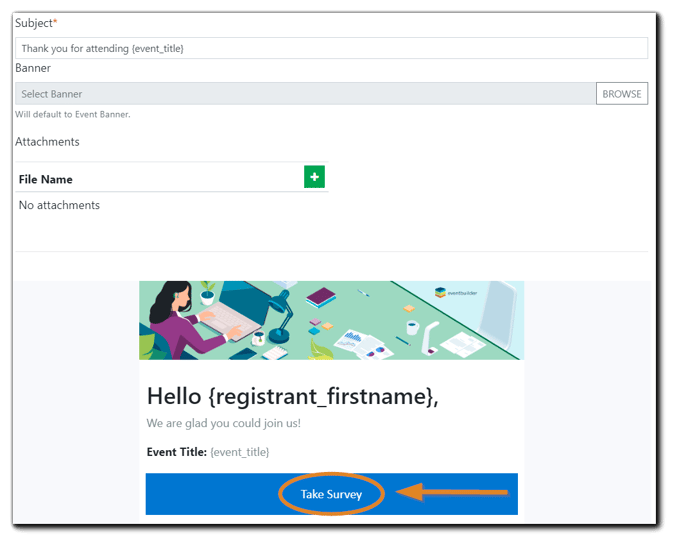
Upon adding a survey question, enabled automated emails ("Attended Event," "Missed Event") will dynamically include a button with the survey link.
Learn about enabling and customizing automated emails.
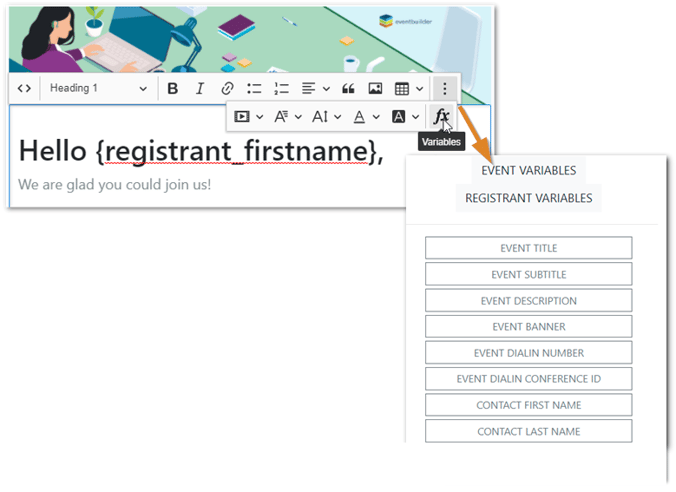
To add additional Event and/or Registrant variables to your Survey text, click on the 'FX' icon.
To remove a survey link, navigate to the Communicate step, locate the email, and select 'Edit.'
Additional Resources
Registration Pages have a space for Organizers to add links to additional Event information or supporting materials.
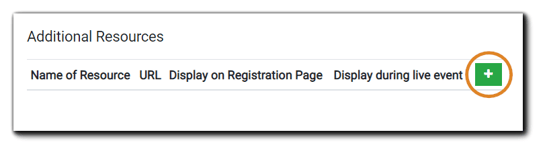
To add links for Additional Resources to your Registration Page, click on the green plus icon ('+').
Enter the name of the resource you wish to add and the URL. Next, choose if you would like the resource to display on the Registration Page and/or during the Live Event.
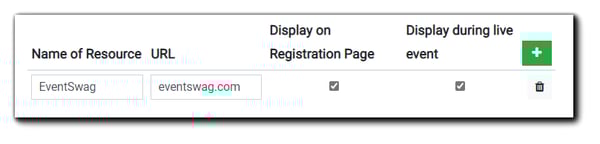
Organizers can add an unlimited number of links to support their Event.
Note: The option 'Display during live event' is only available for EventBuilder Streaming Events.
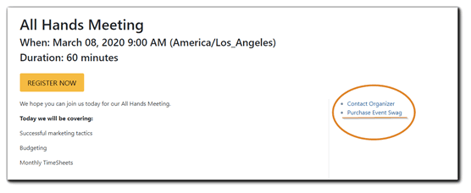
Any Additional Resources links selected to display on the Registration page will be included:
Custom Info Panel Content

Organizers can add custom content to be displayed on the Info Panel in the Attendee Console, including additional text, links, images, etc.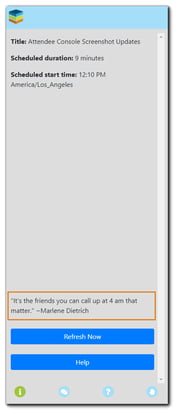
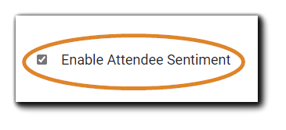
Attendee Sentiment
Organizers can enable Attendees to provide immediate feedback with a 'thumbs up' or 'thumbs down' feature on their viewing console during the Live Event. This feature can be disabled at any time during the Live Event via the Moderator Console.
To allow Attendee Sentiment capability during the Live Event, select 'Enable Attendee Sentiment.'
Click 'Save & Continue'
Video Training: The Engage Step
Next: Communicate Overview
.png)