Building Events: Schedule
Last updated: April 27, 2023
The Schedule step is where Organizers lay the foundation of their Event's details, including the Registration Page layout, Event type, and more.

Event Type/Modes
Select your Event type:
 Learn more about building In-Person Events.
Meeting Links
Both Microsoft Teams Meeting and Teams Live Event links can be used to build your Event.
Teams Meeting
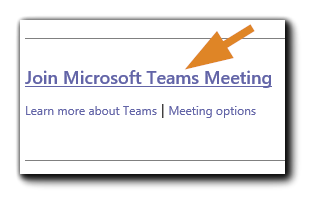
Create and save a Microsoft Teams Meeting in your Outlook calendar. The Teams Meeting link will appear on the lower left of the meeting page in Outlook.
Teams Live Event
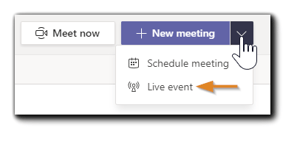
To create a Teams Live Event, go to your Teams Calendar, and in the upper right corner click on the dropdown menu labeled 'New Meeting,' and then select 'Live Event.'
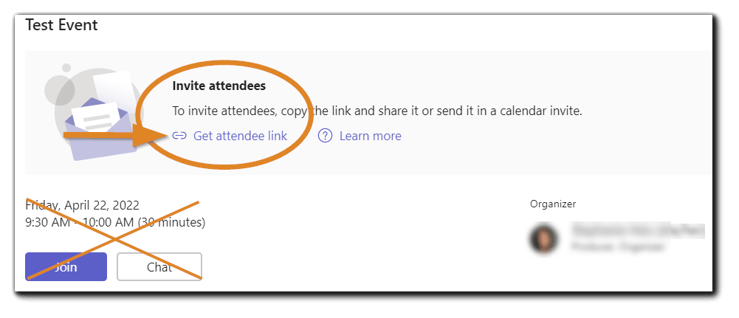
Enter the details of your Teams Live Event, then select 'Get Attendee Link' on the 'Invite' screen. The link will be copied to your clipboard. Note: Please ensure the Attendee link is copied into the Meeting Link field in your Event build. The 'Join' button is for Presenter access.
Note: See Using EventBuilder with Teams Live Event for complete instructions.
Right click and copy the Microsoft Teams or Teams Live Event link, then paste the Meeting Link in the required field:.

Stream/Record
Next, decide on streaming and/or Event recording:
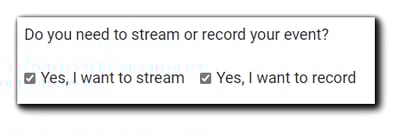
Essential and Suite-level subscribers have the option to record their Events. Also, Suite-level subscribers can select EventBuilder Streaming in a no-download browser, allowing for scale and additional security.
Organizers who select streaming and/or recording should note that this functionality is dependent on the EventBuilder Bot. Be sure to admit the bot from any lobby into the presentation environment.
Teams Live Event Recording Hosting Options
Note: EventBuilder Streaming and Recording are not available for Teams Live Event.
EventBuilder can host your event recording with no expiration date or automatic deletion for as long as your subscription is active.
If you wish to host your event recording with Teams Live Event, add your event link and select 'Let Teams Live Event host my recording.'
For non-streamed Microsoft Teams events, the following notification will appear regarding Attendee privacy interests:
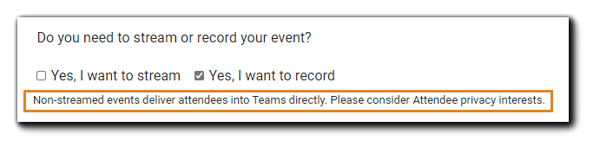
Image Text: Non-streamed events deliver attendees into Teams directly. Please consider Attendee privacy interests.
Page Layout
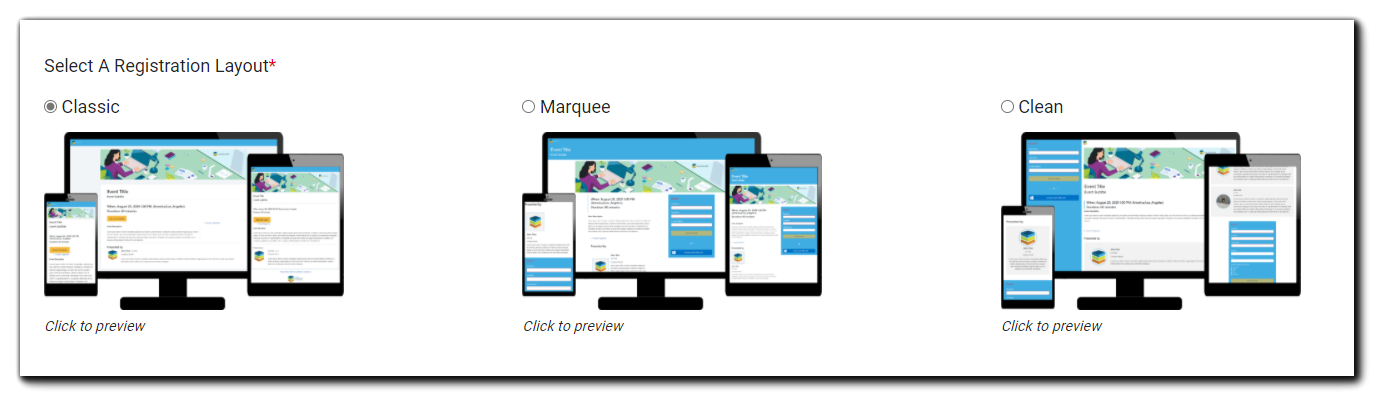
Organizers can choose from three Registration page Layouts: Classic, Marquee, and Clean. The default is set to Classic. Organizers can change the layout even after publication if they wish.
To preview, click on Layout option's image. To select your preferred Layout, click the radio button.
Event Title/Subtitle
Give your Event a Title, and, if desired, a Subtitle.

Event Title is a required field, with a maximum of 200 characters. Event Subtitle is optional, with the same 200-character limit. The Subtitle will appear on the Registration Page. In Streaming Mode or On-Demand Mode, the Subtitle appears in the Attendee Console as well.
Event Details
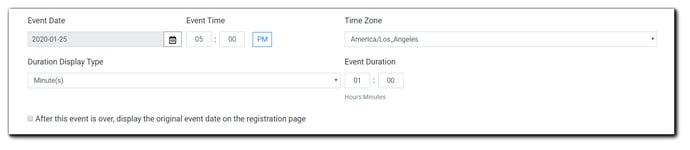
Next, provide Event details: Date, Time, Time Zone, Event Duration, Duration Display (minutes or hours), and choose if you would like to display the original Event date on the Registration page, after the Event is over. This setting can be changed up to 1 hour prior to the scheduled start time.
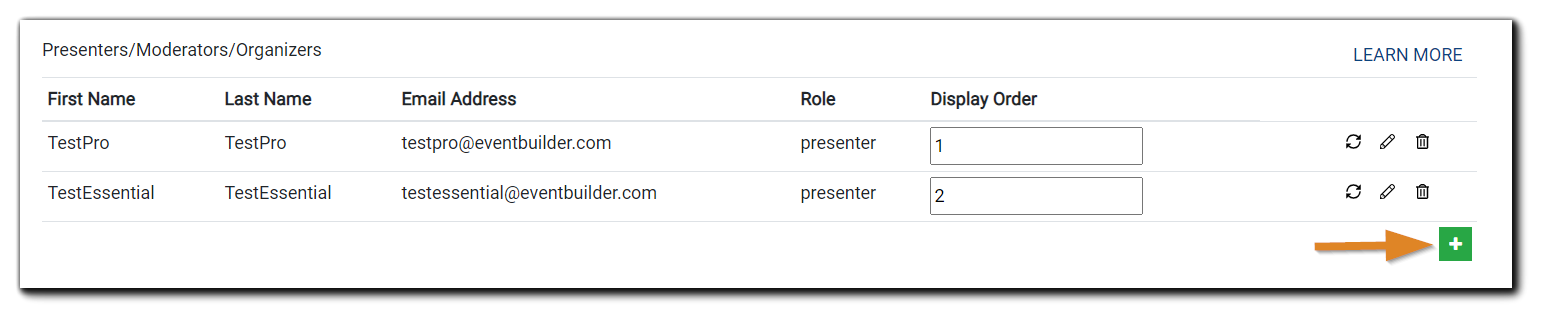
Presenters/Moderators/Organizers
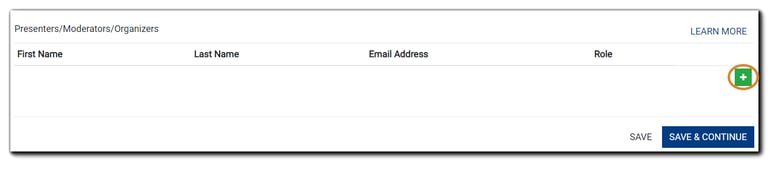
To assign Event Management roles, click on the green '+' highlighted below:
The following window will appear, providing descriptions for each type of role available. To select a User already added to your Portal, enter a portion of their username in the Search field and the system will automatically display matches.
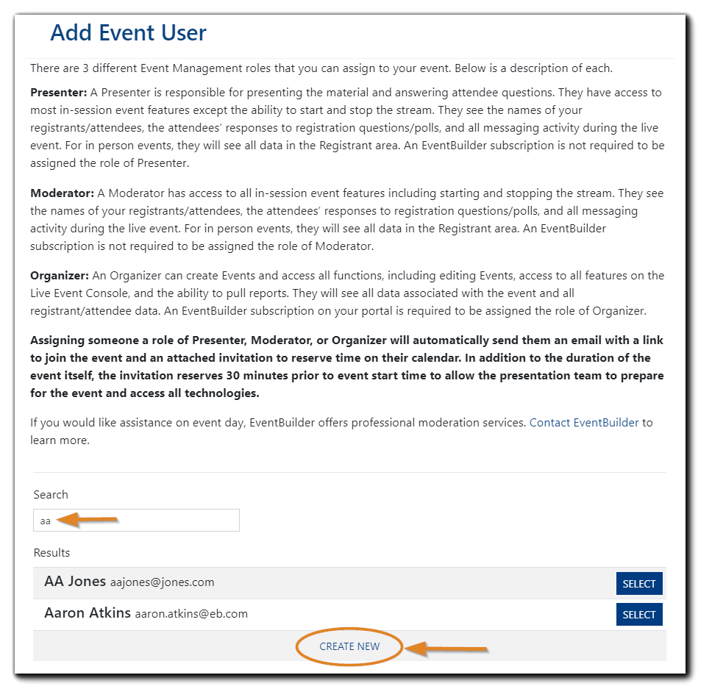
Image text: There are 3 different Event Management roles that you can assign to your event. Below is a description of each.
Presenter: A Presenter is responsible for presenting the material and answering attendee questions. They have access to most in-session event features except the ability to start and stop the stream. They see the names of your registrants/attendees, the attendees’ responses to registration questions/polls, and all messaging activity during the live event. For in person events, they will see all data in the Registrant area. An EventBuilder subscription is not required to be assigned the role of Presenter.
Moderator: A Moderator has access to all in-session event features including starting and stopping the stream. They see the names of your registrants/attendees, the attendees’ responses to registration questions/polls, and all messaging activity during the live event. For in person events, they will see all data in the Registrant area. An EventBuilder subscription is not required to be assigned the role of Moderator.
Organizer: An Organizer can create Events and access all functions, including editing Events, access to all features on the Live Event Console, and the ability to pull reports. They will see all data associated with the event and all registrant/attendee data. An EventBuilder subscription on your portal is required to be assigned the role of Organizer.
Assigning someone a role of Presenter, Moderator, or Organizer will automatically send them an email with a link to join the event and an attached invitation to reserve time on their calendar. In addition to the duration of the event itself, the invitation reserves 30 minutes prior to event start time to allow the presentation team to prepare for the event and access all technologies.
If you would like assistance on event day, EventBuilder offers professional moderation services. Contact EventBuilder to learn more.
Click 'Select' to choose an existing User or click on the 'Create New' link. These actions open the Add Event User window where you can add User information.
If the User already exists on your Portal, the E-mail Address field will be pre-filled. Changes made by an Organizer to the User information in this area will only apply at the Event-level. You will be notified of this with the following confirmation window:
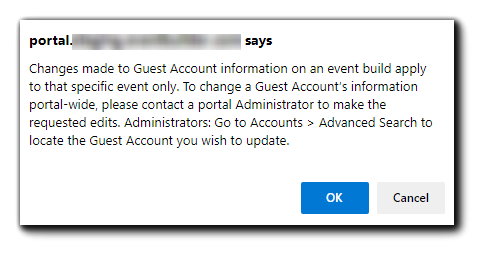 Image text: Changes made to Guest Account information on an event build apply to that specific event only. To change a Guest Account's information portal-wide, please contact a portal Administrator to make the requested edits. Administrators: Got to Accounts > Advanced Search to locate the Guest Account you wish to update.
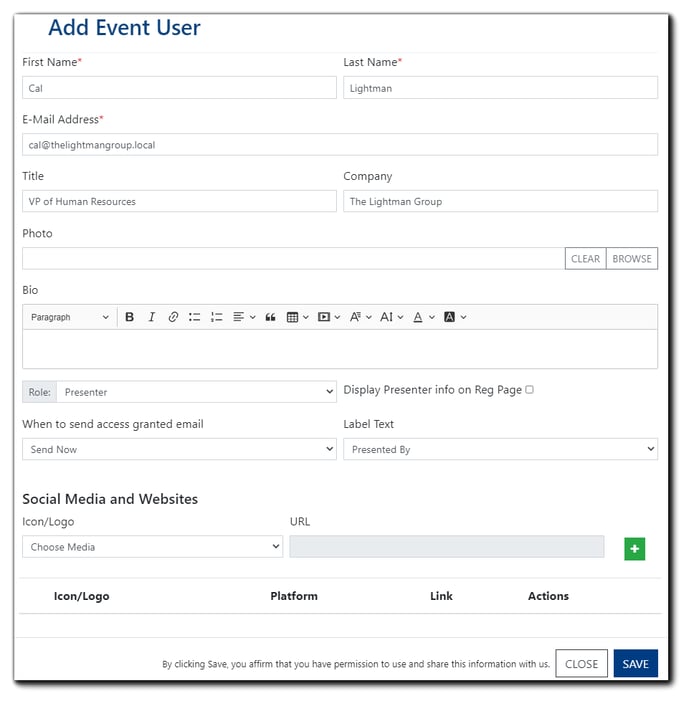
If the User is new, Organizers will need to add the e-mail address where their User will receive Event access information. Organizers can then add User details, including a photo and bio. The Bio area includes a full-featured HTML editor.
Changes made to User information at the Event-level will only apply to the specific Event the User is added to. To make a Portal-wide update to a User's information, Administrators can access the User record from the Accounts option on the main navigation.
Below the HTML editor for Presenter Bio information on the Add Event User window, select the following options:

Role: Presenter, Moderator, or Organizer:
Display Presenter info on Reg Page: This option is helpful if your Event includes a Presenter who will attract Registrations.
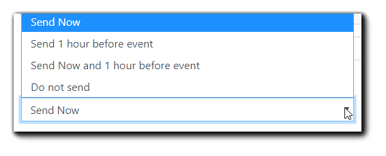
When to send access granted email: Presenters/Moderators/Organizers receive an email with Event access information. Select when they receive their access email from the following: Send now, Send 1 hour before Event, Send now and 1 hour before Event, Do Not Send.
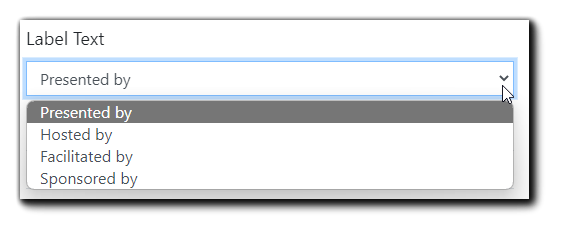
Presented/Hosted By/Facilitated By/Sponsored By Label Text: If you have opted for your Presenter/Moderator/Organizer to be displayed on your Registration Page, select your preferred Label Text option from the dropdown menu:
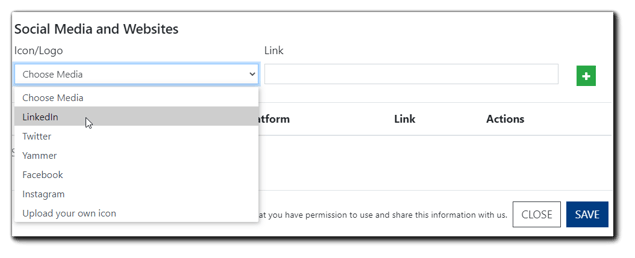
Social Media and Websites: Organizers can choose to add social media profiles and website information for Presenters.
From the dropdown menu, select the social media channel. Options are LinkedIn, Twitter, Yammer, Facebook, and Instagram. Paste the account holder's profile link in the field and click the green '+' sign to add.
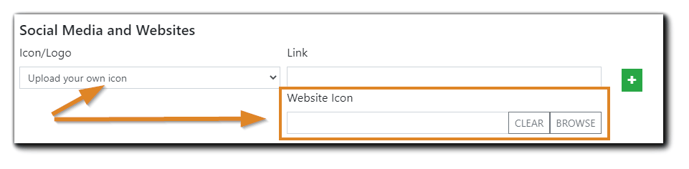
The social media channel's default icon will display. You may also choose to upload your own icon:

Click 'Save' to return to the main Schedule window.
You can add additional Event Users, reorder display, resend access emails, as well as edit or delete Event Users as needed:
Click 'Save & Continue'
Note: Once Organizers have completed the Event Details in the Schedule step, the foundation of the Event has been created. The Event build can be further customized, or Organizers can proceed with the default settings EventBuilder has created.
Training Video: Building Events - The Schedule Step
Next - Building Events: Setup - Options & Instructions
.png)