Building Listing Pages: Set Up Step
Last updated: May 9, 2023
Create Listing Pages to collate/group together similar events onto one page, accessible to Invitees via a single URL.
Get familiar with Listing and Custom Pages basics.

Create New Listing Page
Select the Listing Page option:
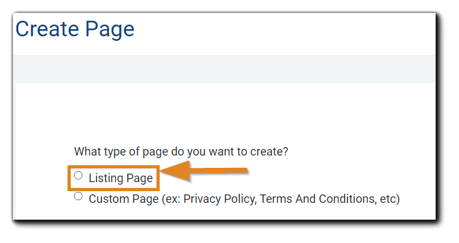
Upon selection, the following dialog appears:
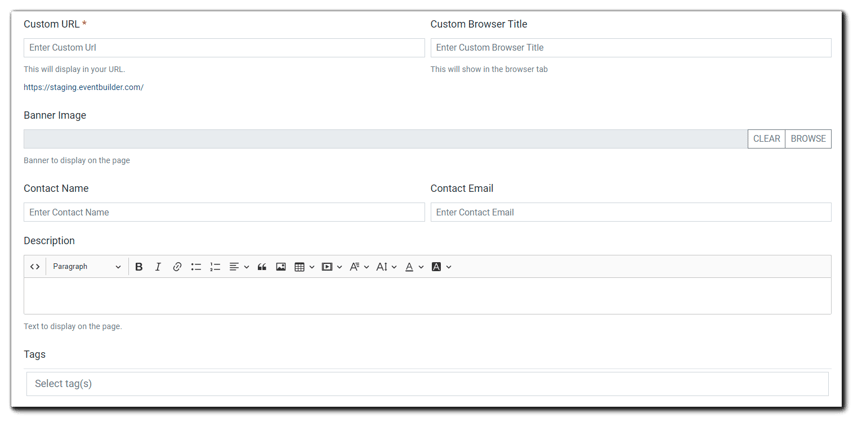
Custom URL/Custom Browser Title
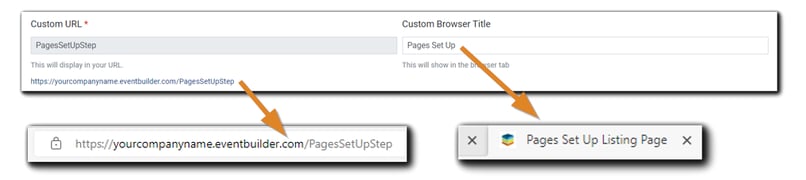
Enter the Custom URL for your Listing Page (required) - this appears in the browser address bar, e.g., portal.companyname.com/YourPageLink.
Note: There is a 50 character limit in the Custom URL field. Once saved, it cannot be edited.
Next, enter the Browser Title you wish to appear in the browser tab.
Banner
To add a Listing Page banner, click on the 'Browse' button:

The 'Select File' window will appear:
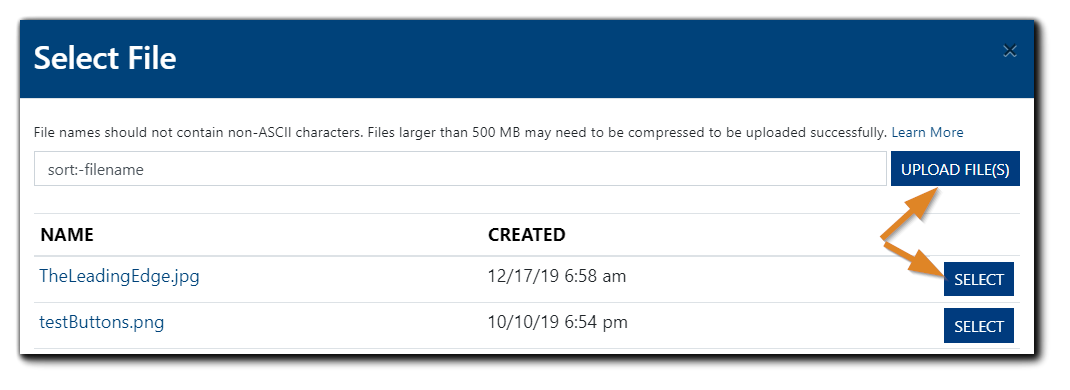
Image text: File names should not contain non-ASCII characters. Files larger than 500 MB may need to be compressed to be uploaded successfully. Learn more about File Upload Requirements.
To add an image already in your File Repository, locate the file and click 'Select.' To add a new image, click 'Upload Files' and import the desired image. Click 'Select' to add the newly-uploaded image to your Listing Page.
Contact Name/Contact Email
Enter the Events' contact name and email. This can be assigned to anyone you choose, including general email addresses, e.g., organizer@event.com.

Description
Create a description of Events being offered through the Listing Page. Attachments can be uploaded via the text editor:

Note: The Description area is a fully customizable WYSIWYG-style editor that supports HTML, images, iFrame, and CSS stylesheet class attributes.
Adding Attachments
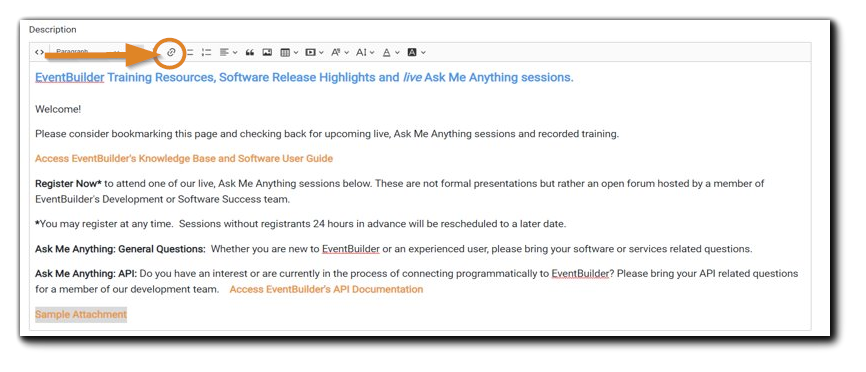
Organizers can attach event-related materials to their Listing Page via the Add Link function in the Description area.
Click on the link icon on the Description area toolbar:
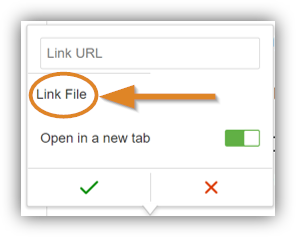
The following window will appear. Click on 'Link File.'
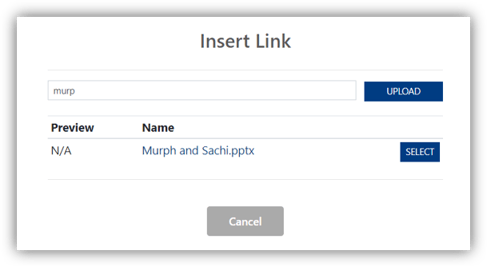
Next, the following dialog will open. Select or upload the file(s) you wish to attach:
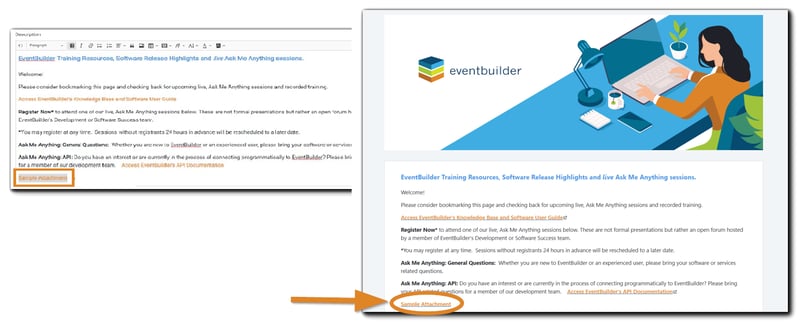
The attachment will then appear in the description area as a linked file:
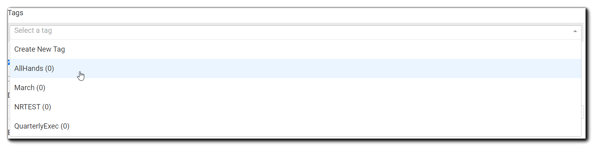
Tags
Add Event Tag(s) to group together the Events you want to appear on the Listing Page. The following confirmation will appear if you do not select event Tags for your Listing Page:
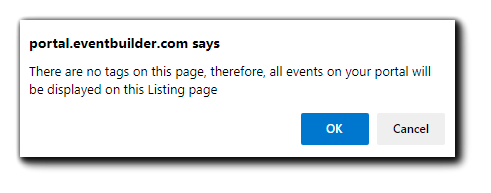
Note: Tags must be added to each Event you wish to appear on the Listing Page. If no Tag is selected, all Events on your Portal will be displayed on the page you are creating.
The following non-alphanumeric characters are supported for Tags: # (hashtag or pound sign) and _ (underscore). Tags cannot have spaces and are not case sensitive.
Click 'Save & Continue.'
.png)