Configuring Your EventBuilder Portal
Last updated: April 26, 2023
When you sign up for an EventBuilder subscription, we assign a private portal for your account. There are some important actions to take once your EventBuilder Portal has been assigned to ensure proper configuration, including User Account privileges, Default Template creation, branding, privacy, and security. Generally, the steps outlined in this article are performed upon your initial account setup and not repeated once completed.
Accessing Your Portal
You will receive a Welcome email from EventBuilder with first-time login link, as well as a link to your Portal. Your User ID is the email address you provided to EventBuilder at sign-up (e.g., name@yourcompany.com).
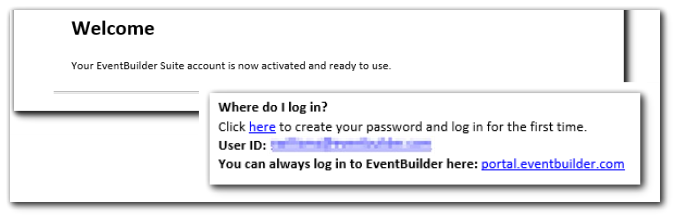 Click on the blue "here" link to be taken to your new Portal. You will be prompted to set a password:
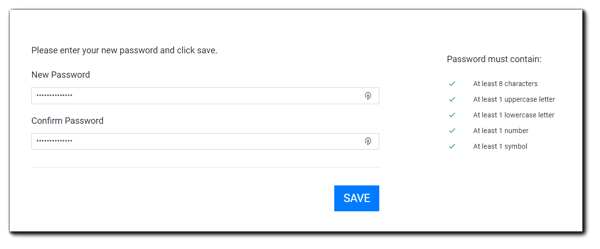
Click 'Save' and you will be redirected to your Portal's Dashboard. Click on the computer icon to begin your Portal configuration.

Note: 2-Factor Authentication is enabled for all EventBuilder Portals. Once the Portal configuration process is complete, all Subscriber Accounts (Admins & Organizers) are prompted for verification upon login. Learn more: 2-Factor Authentication.
General

The first section of your Portal is where you will find general information, such as your Portal name and URL, contact information, and billing information.
Note: Most fields have been pre-populated with information given at the time of sign-up. Company name, Contact, and Billing information can be edited. However, if you wish to change your Portal name, please email care@eventbuilder.com
The bottom portion of the General section in your Portal includes the Default Template selection, information about your subscription level and number of subscriptions, as well as contact information to request billing and/or subscription changes.
Default Template Information:
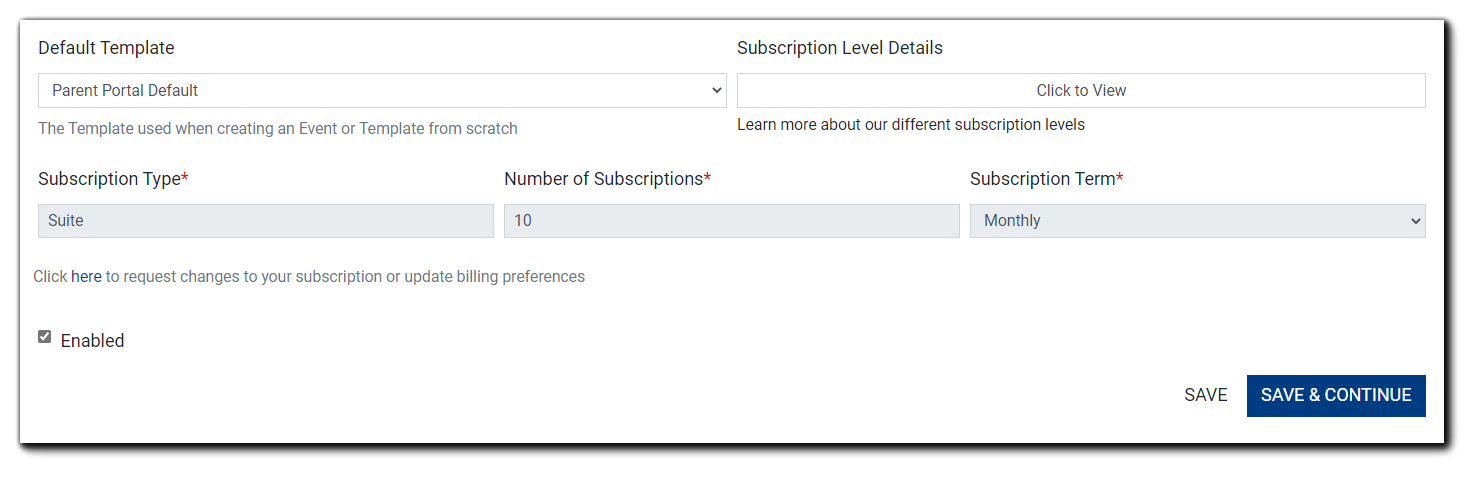
Administrators can create and set a global, Portal-level Template to ensure consistent collection and dissemination of information Portal-wide. Administrators should carefully consider what type of information, Files, and Registration questions they would like to enforce across all Events. Default Templates can also be utilized to ensure any necessary opt-in questions are present. The Default Template can be created and set here at any time. Learn more about Templates.
Branding

The branding section in your Portal Configuration is where you will customize and set defaults for your company logo, banner, footer, and more, as well as set Portal Login Privacy, Security and User privileges.
We will break down this section into three parts.
Section 1: Logos, Style Customization, Disclosures, Analytics
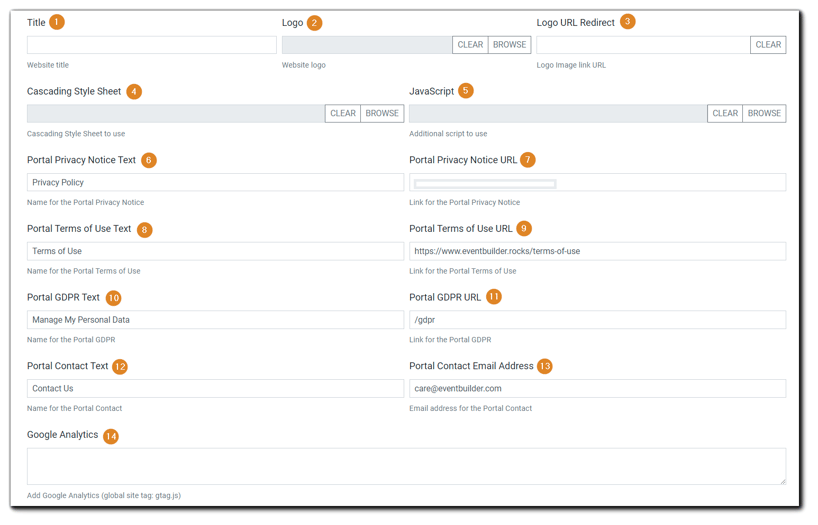
- Title - Appears in browser tab.
- Logo - Your company logo, appears in the upper left-hand corner of your Event Pages.
- Logo URL Redirect - Choose a page to direct Registrants to if they click on the logo.
- Cascading Style Sheet - Customize colors on Registration and Listing Pages. Administrators should contact their Developer/Engineer to create custom style sheets.
- JavaScript - Customize JavaScript. Administrators should contact their Developer/Engineer to create custom JavaScript.
- Portal Privacy Notice Text - Custom Privacy Notice link text.
- Portal Privacy Notice URL - Privacy Notice link.
- Portal Terms of Use Text - Terms of Use link text.
- Portal Terms of Use URL - Terms of Use link.
- Portal GDPR Text - GDPR link text.
- Portal GDPR URL - GRPR link.
- Portal Contact Text - Portal Contact email text.
- Portal Contact Email Address - Portal Contact email link.

14. Google Analytics - Add Google tracking and analytics code to your Portal.
Note: To add Google Analytics to your Portal, insert the portal's analytics tracking code (Global Site Tag - gtag.js) in the space provided. See Google Analytics Help for assistance with adding your portal URL to your Analytics account.
Section 2: Banner Graphics, Footer, Disclaimer
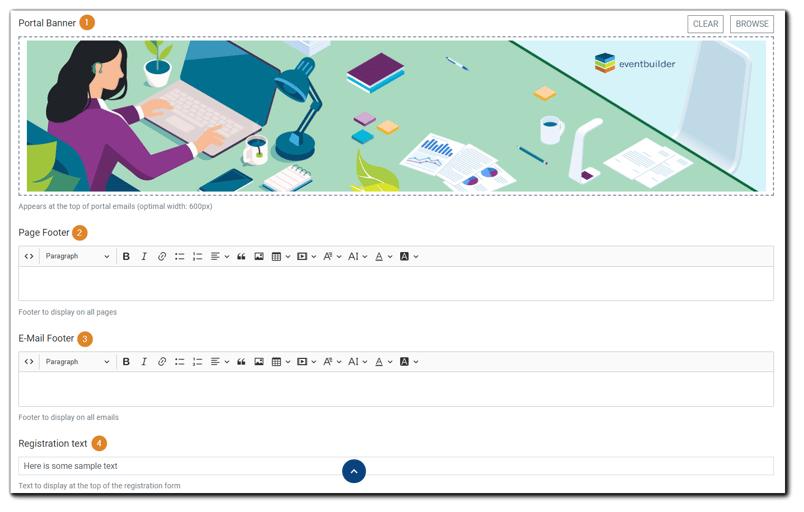
- Portal Banner - Company graphic; appears at top of Portal-level emails and social media links. Note: Portal Banner display may be cropped, and portion displayed varies by social media channel.
- Footer - To add additional information below privacy, terms of use, personal data, and contact links, use the HTML editor provided. Text added here will be displayed on all pages.

- Registration Text - Customize the text that appears above your registration questions. Administrators can use this space to add their own privacy wording to the top of their Registration Form.
Section 3: Privileges, Portal Security, Data Retention
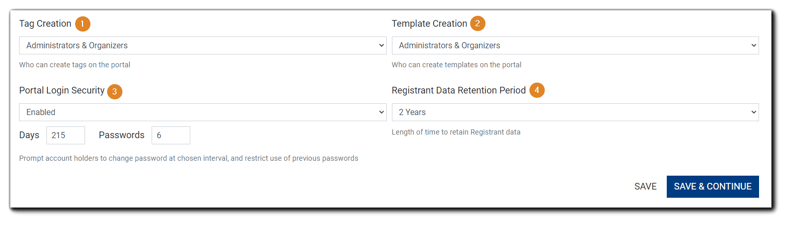
- Tag Creation - Give permission for Organizers and Admins, or Admins-only to create Event Tags. Administrators can change this setting at any time. Learn more about Tags.
- Template Creation - Give permission for Organizers and Admins, or Admins-only to create Templates. Administrators can change this setting at any time. Learn more about Templates.
- Portal Login Security - When this option is enabled, Portal account holders will be prompted to change their password at an interval you set here. Admins may also restrict User's reuse of previous passwords. Ex., Administrators can set Users to change their password every 60 days, disallow use of the User's 6 most recent passwords upon changing.
- Registrant Data Retention Period - Administrators set the length of time Registrant Data will be stored. After the designated time, identifying information will be redacted on Registrant records, but event data such as 'number registered' and 'number attended' will remain.
Click 'Save & Continue'
Emails

Administrators have three Portal-level email options:
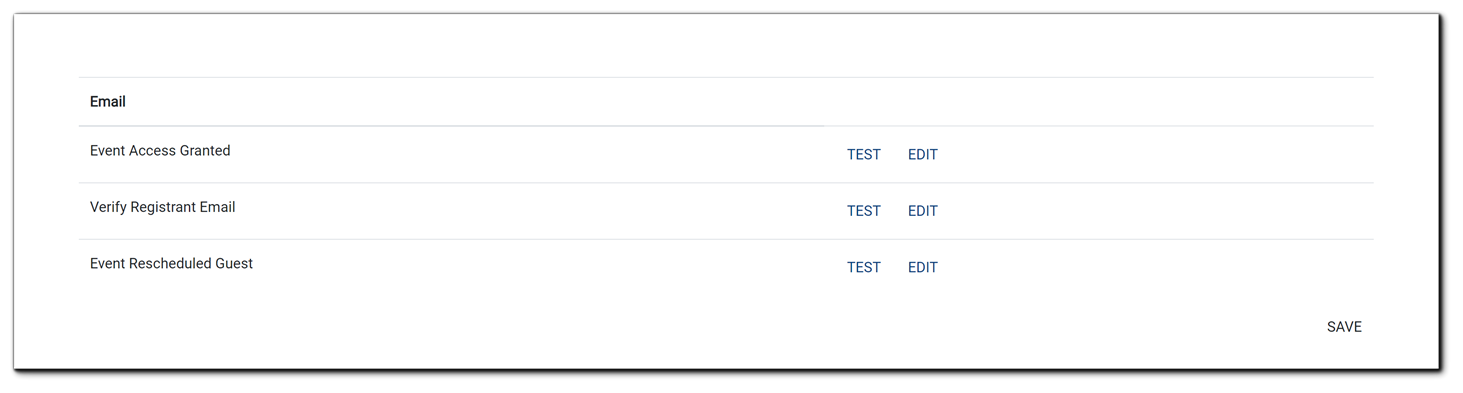
- Event Access Granted - Sent to Presenters/Moderators/Guests without a paid subscription on your Portal and will be joining your live Event. Includes fields for Event date, time, contact, and login, and can be customized.
- Verify Registrant Email - Available to Suite-level paid subscribers (Admins & Organizers), Registrants are prompted to verify their email address to complete Registration. Includes an HTML editor for customization.
- Event Rescheduled Guest - Sends an email to Presenters and/or Moderators (individuals with Guest accounts) to inform them their Event has been rescheduled.
Event Access Granted
Click on 'Edit' to open the email editor. The following window will open.
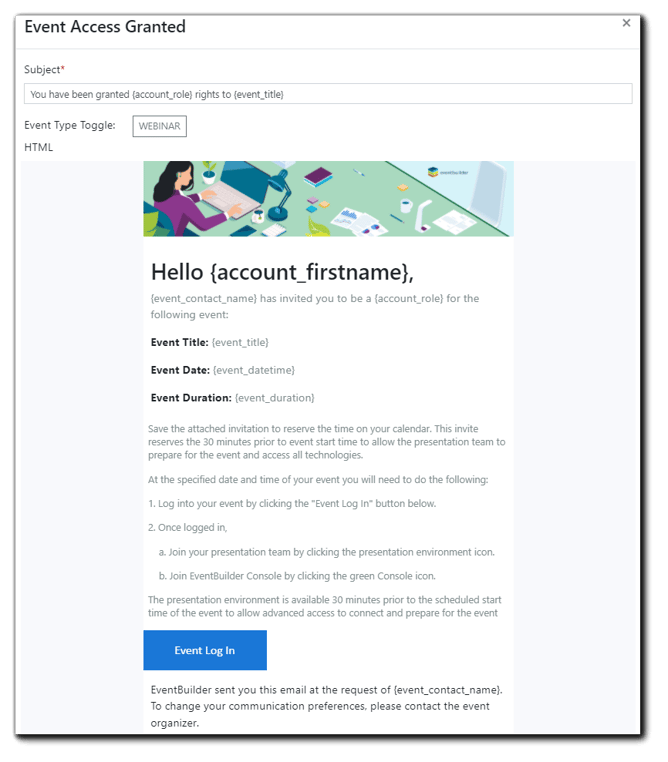
Click in the top area to open the HTML editor and customize copy and/or add database variables by clicking on the 'fx' button highlighted below:
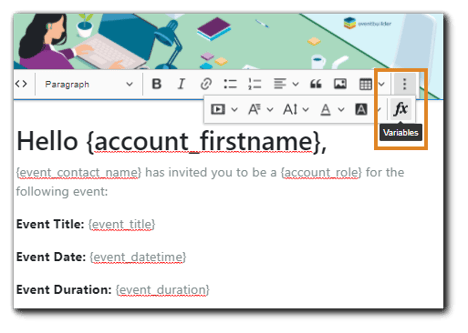
Scroll to the bottom portion of the email, to customize copy for your Event Presenters/Organizers/Guests. Click in the area to open the HTML editor and customize copy. Click on the three dots highlighted below to open the 'fx' menu to add database variables.
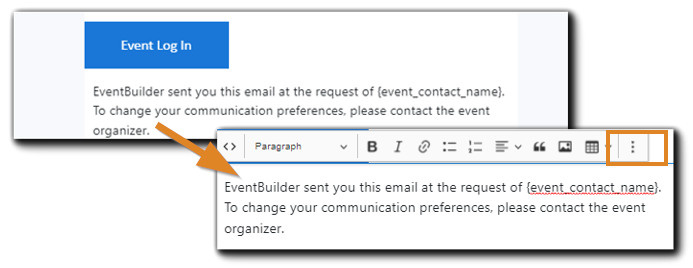
Image text: EventBuilder sent you this email at the request of {event_contact_name}. To change your communication preferences, please contact the event organizer.
Scroll to the bottom of the dialog to disable or customize text on the email's button:
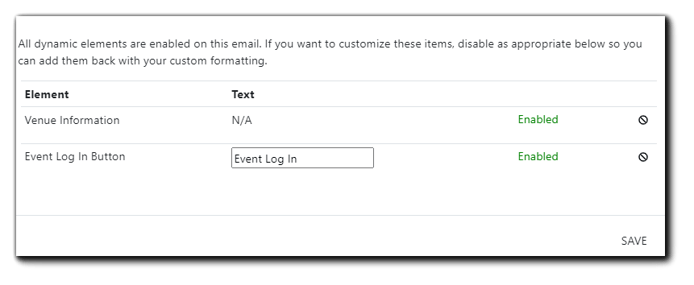
Image text: All dynamic elements are enabled on this email. If you want to customize these items, disable as appropriate below so you can add them back with your custom formatting.
Verify Registrant Email
Click on 'Edit' to open the email's editor window.
EventBuilder has provided boilerplate fields and copy, however, Administrators have full control over customization.
To add a database variable, click on the 'fx' button: 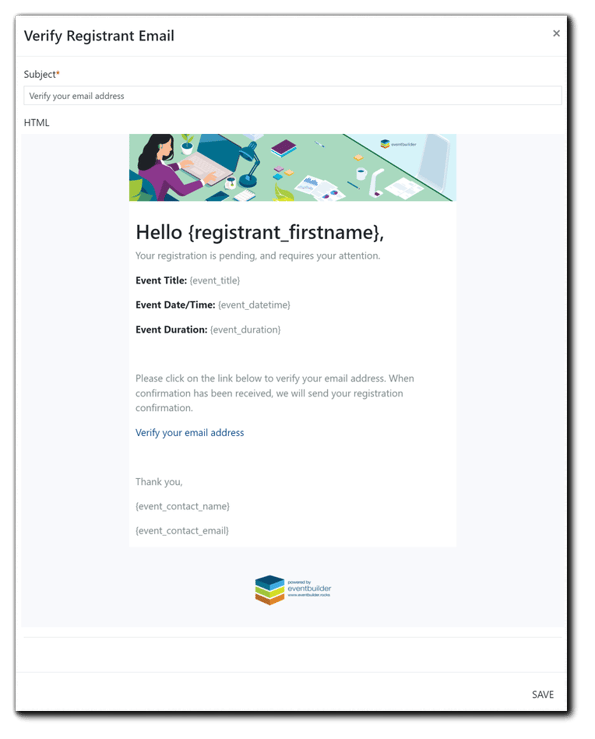
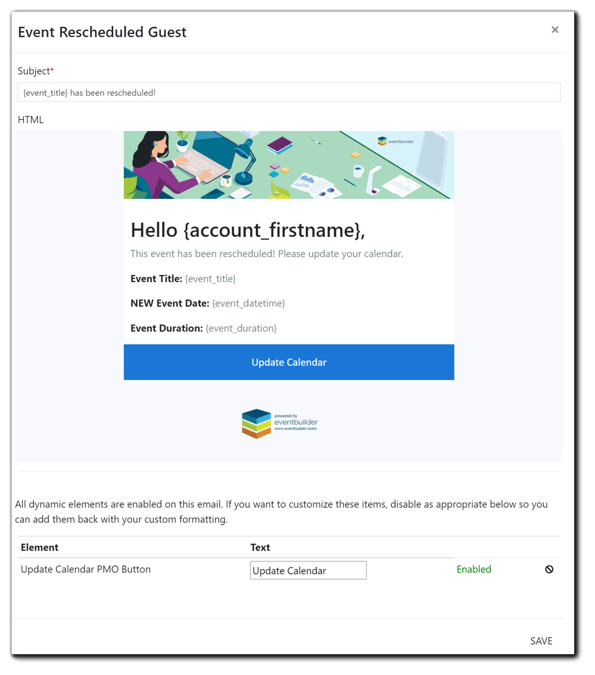
Event Rescheduled Guest
As with the previous Portal Email options, click on 'Edit' to open the email editor. Administrators can fully customize to suit their needs, as well as disable or customize the text on the email's 'Update Calendar' button.
Test
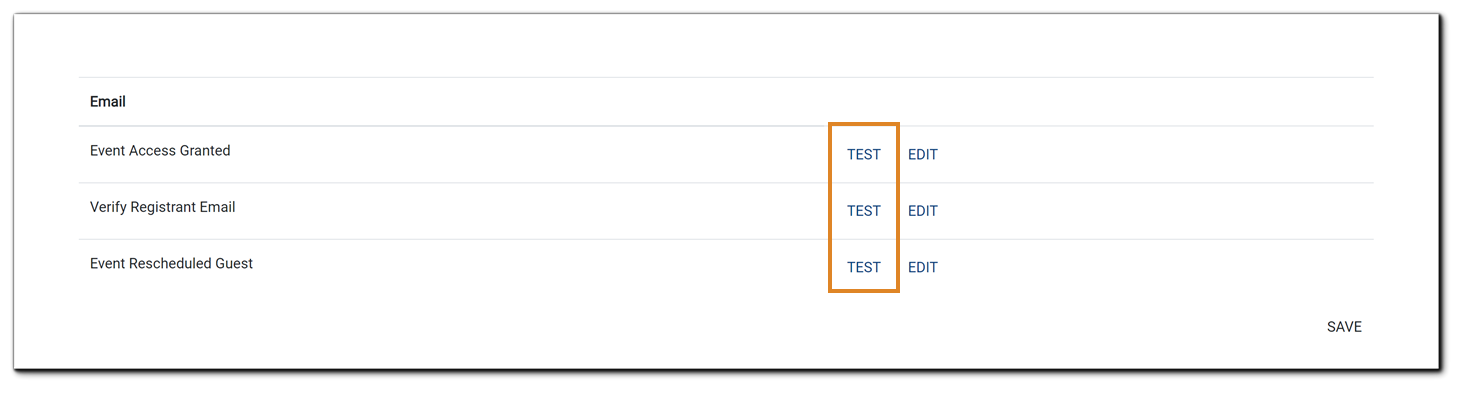
Once Portal-level emails have been customized, Administrators can send themselves a test email to check for delivery, accuracy, and appearance. The test email will be sent to the email address associated with your EventBuilder Portal User account.
Click 'Save' to close the window.
Video Training: Portal Configuration
.png)