Creating Reports: Portal-Level
Last updated: May 1, 2023
Available for Suite and Enterprise subscribers, EventBuilder's powerful and flexible Portal-Level reporting tools give Users the ability to see and interpret data collected for Registrants, Events, and Users across their entire portal.
EventBuilder also offers tools for deeper report customization and data visualization. Learn more about our Microsoft Power BI Connector or API .
EventBuilder takes the privacy and security of your data seriously. We have internal procedures and processes in place for maintaining compliance with applicable laws regarding data processing and security protocols.
Secure Reports
EventBuilder is a processor of your data, however, you are the controller responsible for its management. To assist in your data management, Reports containing Personally Identifying Information (PII) from EventBuilder are secured either by a password or by requiring authentication.
Learn more: EventBuilder's Role in Privacy Data.
Permissions
Administrators: Administrators can request and run Reports for all Events across their Portal, including the User Activity report.
Organizers: Organizers can run Reports on Events they have created or have been added to as an Organizer.
Moderators/Presenters: Moderators and Presenters cannot run Reports. Only subscribers (Administrators and Organizers) can run reports.
Portal-Level Reports Access
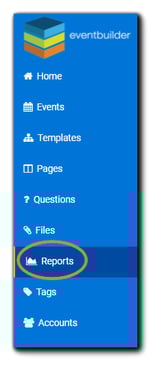
To request/run Portal-level Reports, navigate to the Reports option on the left navigation:
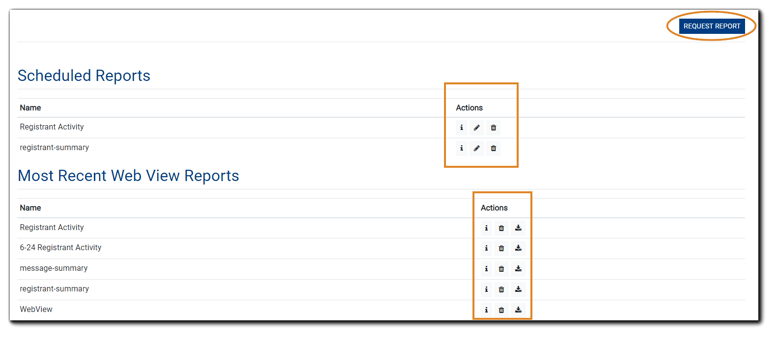
The main Reports page will appear:
Request Report - Selecting the Request Report button opens a dialog for Users to set Report parameters. All available reports can be requested via this button.
Scheduled Reports - Configured recurring reports appear at the top of the page. Users can click on the Actions icons to view, edit, or discard the report displayed.
Most Recent Web View Reports - Recent Reports displayed via the Web View tool appear in the next section. Users can click on the Actions icons to view information about the report, delete, or download.
Quick View - Event Activity - At-a-glance information about recent Reports.
Quick View - Registrant Activity - At-a-glance information about recent Reports.
Quick View - User Activity (Administrators only) - At-a-glance information about User Accounts on the Portal.

Available Portal-Level Reports
Event Activity - View data from multiple Events across the Portal, including Event Title, number of Registrants, and number of Attendees. Event Activity Report Key
Registrant Activity - View Portal-wide Registrant data, including Event information, Registrant status, Registrant answers to survey and polling questions, and Attendance status (Yes/No). Registrant Activity Report Key
User Activity - Gather information on Portal User Accounts, such as number of Events, Active/Inactive, and future Events. User Activity Report Key
Requesting Reports
Click on the Request Report button at the top of the Reports area. The following dialog will appear:
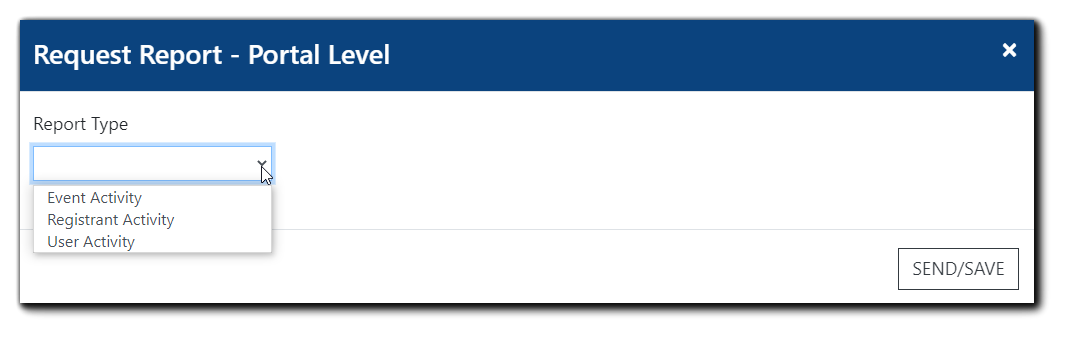
Select the type of Report you wish to run: Event Activity, Registrant Activity, or User Activity. The Request Report dialog will open after Report Type selection:
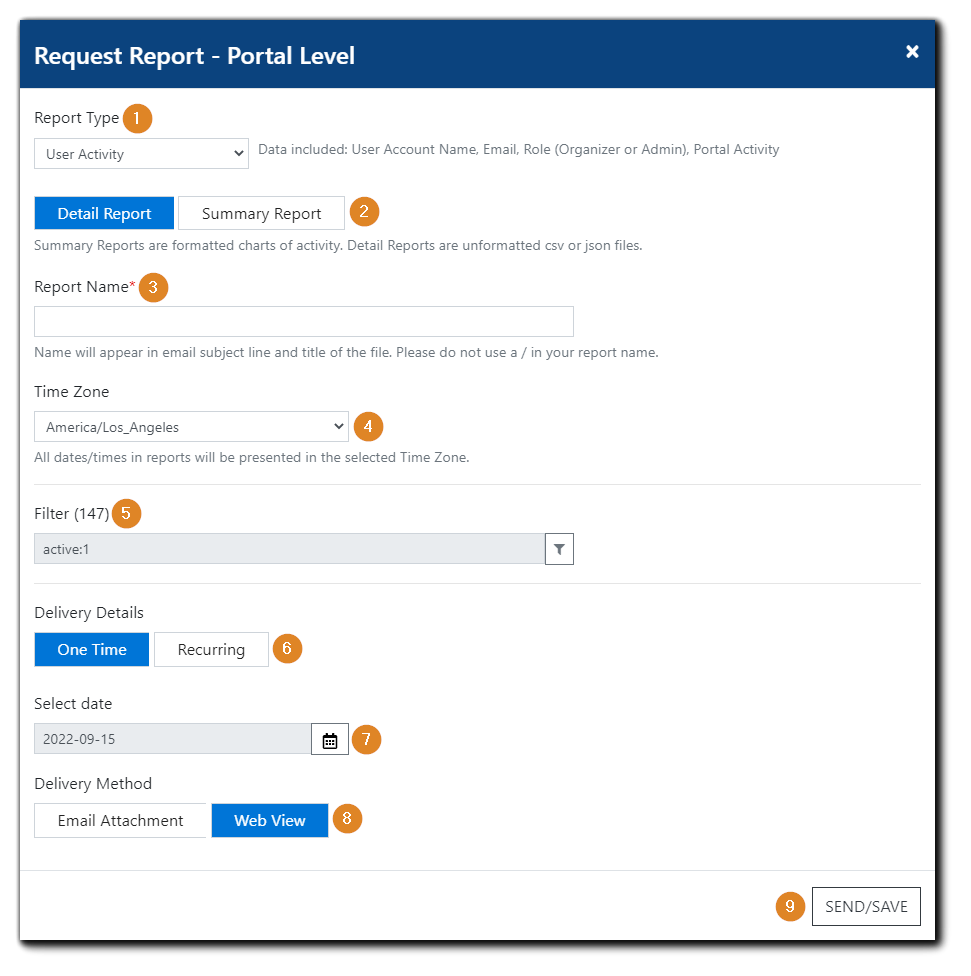
- Report Type - Choose Event, Registrant, or User Activity. Help text displays what data is included in each type of report.
- Detail Report/Summary Report - Select output - Detail provides unformatted raw data (.CSV or JSON file), Summary provides a data overview formatted for presentation with charts, graphs, etc. Help text on image: Summary Reports are formatted charts of activity. Detail Reports are unformatted csv or json files.
- Report Name - Open text field, appears in the email subject line and filename. Help text on image: Name will appear in email subject line and title of the file. Please do not use a / in your report name.
- Time Zone - Select time zone that will be presented in the Report. Help text on image: All dates/times in reports will be presented in the selected time zone.
- Filter - Opens a dialog with options to pull specific report data for reports (see instructions below).
- Select Report Date(s) - One Time/Recurring, each opens options for selections specific to a One Time Report run or Recurring.
- Select Date - Date to run Report. Different options appear for Recurring Reports.
- Delivery Method - Email Attachment or Web View.
- Send/Save - Once options are selected, click Send/Save to run the Report and close the dialog.
Summary Reports
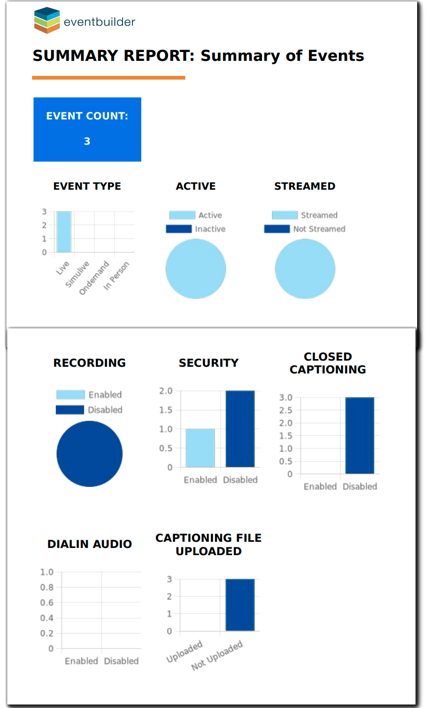
Designed to give Users a visual overview of their requested data, Summary reports create .pdf files presenting a summary of the results in charts and graphs.
Note: Web View delivery is not available for Summary Reports.
The Summary Report will be delivered to the User requesting the report as a .pdf attachment. The document is not password-protected.

Summary Report example:
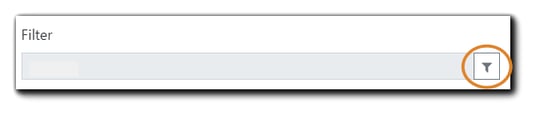
Data Filters/Search
To filter data for your report, click on the Filter field in the Request Report dialog:
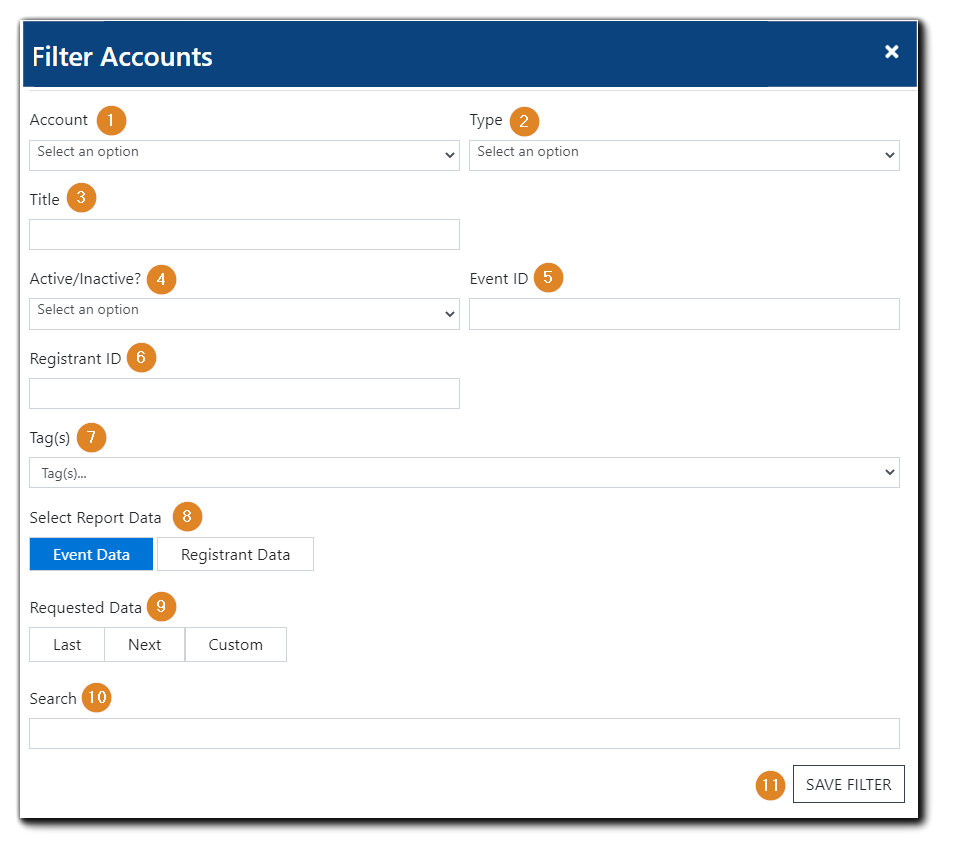
The following Search Criteria dialog will appear:

Data filters available for the Events Summary and Registrant Summary Reports:
-
- Account - Select all User accounts or an individual User on your Portal.
- Type - All, Live, On-Demand, or Simulated Live.
- Title - Filter for a specific Event or group of Events by their title.
- Active/Inactive - Choose between Active Events, Inactive Events, or All (both).
- Event ID - Search for a specific Event by ID number.
- Registrant ID - Search for a specific Registrant/Attendee by ID number.
- Tags - Filter results by Event Tags.
- Select Report Data - Event or Registrant - Event report data returns information for Events that occurred during the specified timeframe. Registrant report data returns information about who registered during the specified timeframe.
- Requested Data - Set parameters for time frame of data: Last/Next/Custom.
- Search - Open-ended data filter field. Enter any identifier (e.g., partial Event title) and pull data that matches your query.
- Save Filter - Saves and closes Search Criteria window.
User Activity Report Filter Options
 Requested Data Actions
Users have the following options for the date ranges they can select for their Report: Last, Next, or Custom.
Selecting Last or Next allows Users to choose a range of Day(s) Week(s) or Month(s)
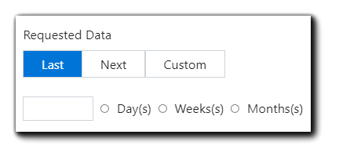
Selecting 'Last' will pull data from past Events within the parameters you set. Selecting 'Next' will pull data for future Events based on the same available parameters: Days, Weeks, or Months.
Selecting 'Custom' will open a date range selection dialog:
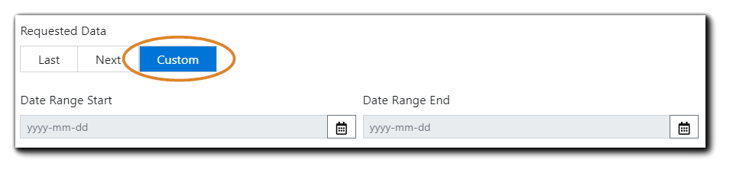
Click on the Calendar icon(s) for each. Set the starting and end dates from the date picker that appears. The Report will return data from within the chosen range.
Report Frequency Options
Users can choose to run a Report once, or create automated runs of commonly utilized Reports, saving time and effort.
One Time
To request a single run of a Report, choose the 'One Time' option in the Report Request dialog:
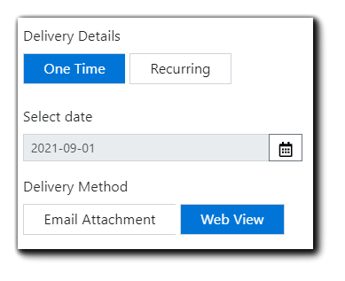
Next, click on the Calendar icon. From the date picker, select the date you wish to run the Report.
Select the Report Delivery Method. (Email Attachment or Web View)
Recurring Reports
To encourage regular review of data and security in relation to recurring reports, the number of recurring report instances allowed are as follows:
- Daily Reports: 30 days
- Weekly Reports: 26 weeks
- Monthly Reports: 12 months
To create automated Reports, click on the 'Recurring' button:
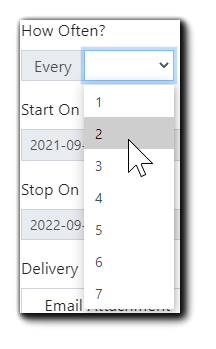
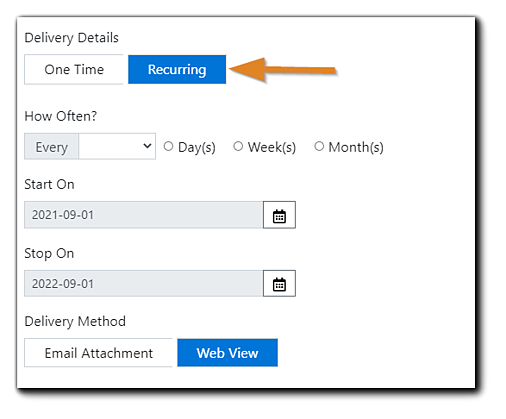 Select the cadence you would like the Report to run - options are Every: Day(s) Weeks(s) Month(s).
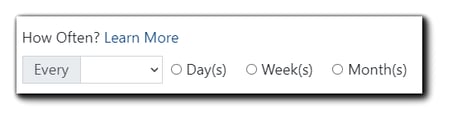 Click on the drop down menu to select delivery frequency: choose from 1 through 7.
Click the Send/Save button to complete the Recurring Report request. Going forward, the Report will run and be delivered on the schedule you set. You will be notified prior to the Report's pending limit if you wish to extend delivery.
Edit/Cancel Recurring Reports
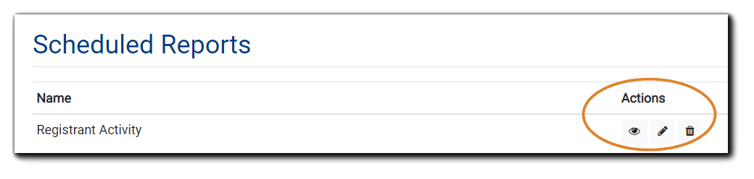
If Users would like to make adjustments to or cancel a Recurring Report, go to the 'Actions' section under 'Scheduled Reports' on the main Reports area:
To edit the Recurring Report, click on the pencil icon. The Edit Report dialog will appear: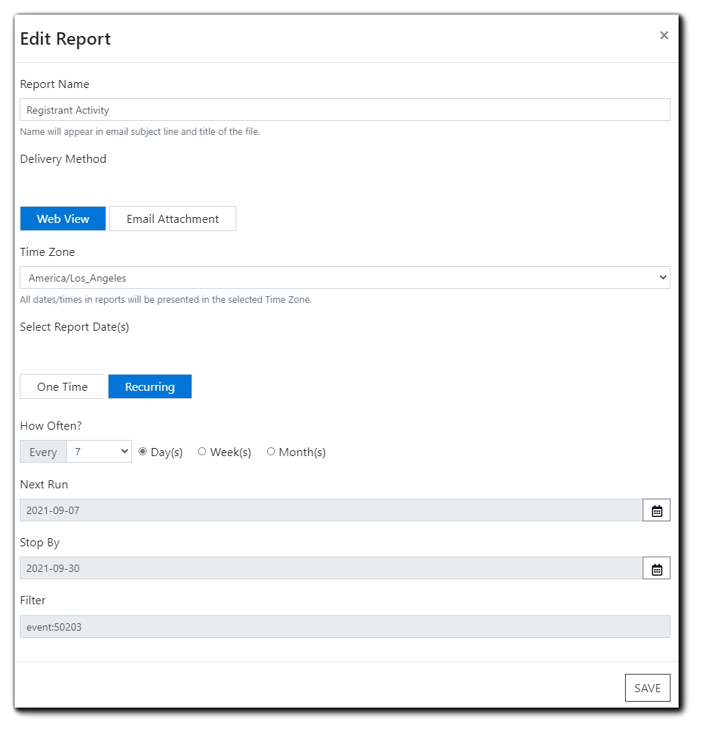
Make any changes to the Report needed. Click 'Save' for the changes to take effect.
To delete the Recurring Report, click on the trash icon. A confirmation dialog will appear:

Click 'Ok' to complete Report deletion.
Report Delivery Options
Web View
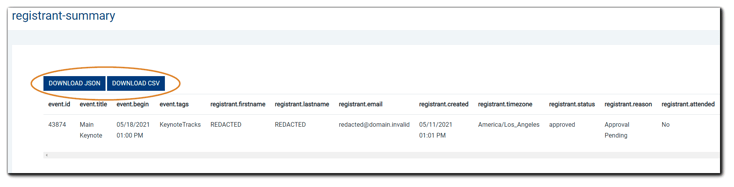
A link will be sent via email to the User requesting the Report. Click the link to open your Portal in a browser window; log in if prompted.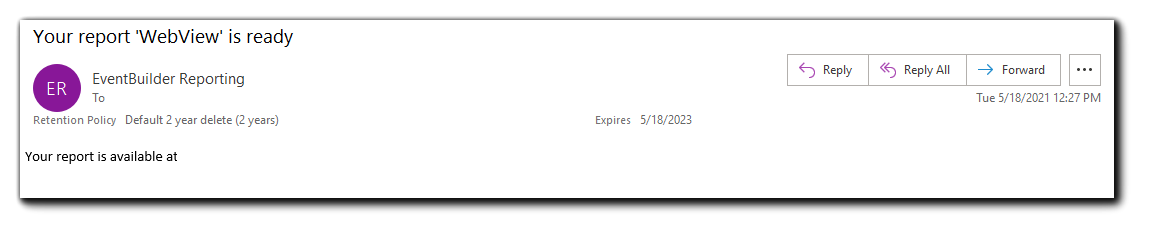 The data will be displayed once you have authenticated your log in. Click the 'Download JSON" or 'Download CSV' button to save the Report to your local or cloud drive.
Note: A copy of a file accessed via link - .json and large .csv files - is saved in the User's File Repository for 7 days, after which is automatically deleted.
Email Attachment
A password-protected Report is sent to the Organizer or Administrator as a file attachment in .csv format, with the password emailed separately.

Recurring Reports will be automatically sent on the schedule created and with the delivery method chosen at set up.
Creating Reports: Portal-Level Video Training
Event-Level Report Instructions / Report Key
.png)