Scheduling Events via Outlook
Last updated: May 10, 2023
Suite subscribers have the option to schedule live events directly from Outlook with E-publishing. Using this option can save time and streamline the event creation process.
Note: E-publishing works for live events using the Teams Meeting feature. Simulated-Live, On-Demand, and Teams Live Events must be created from the Portal.
E-publishing Requirements
To E-publish, the Organizer's Outlook email and Portal email must match. Additionally, because E-published events use a template to create the event, Organizers must have the template they wish to base their event from configured and set as their default.
Organizers can set their default template via their User Account settings or from the Templates section on the left navigation.
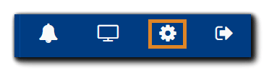
To set the Default Template from your User Account, select the gear icon to go to your User Account settings.
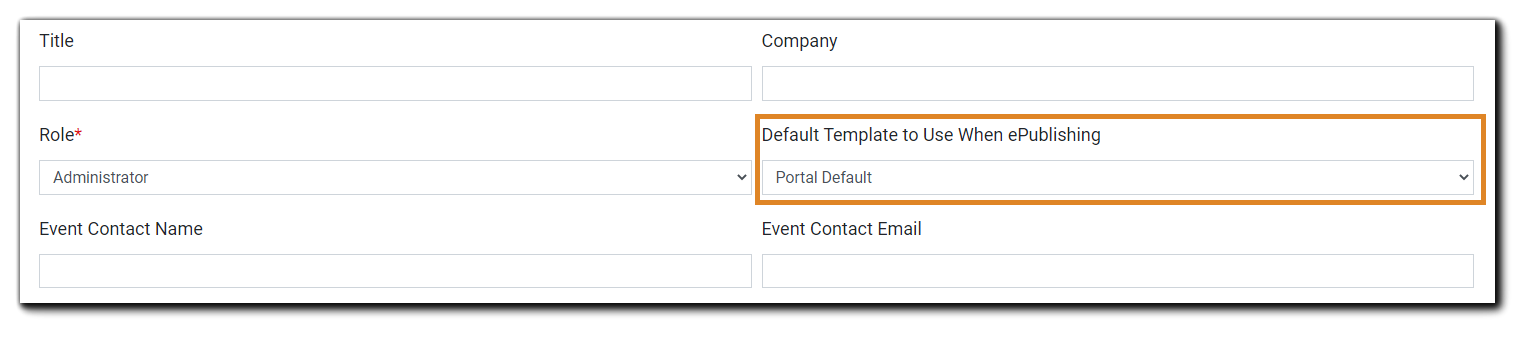
Select your Default Template to Use When E-publishing from the dropdown menu.
 To set your Default Template to Use When E-publishing from the Templates section on your Portal:
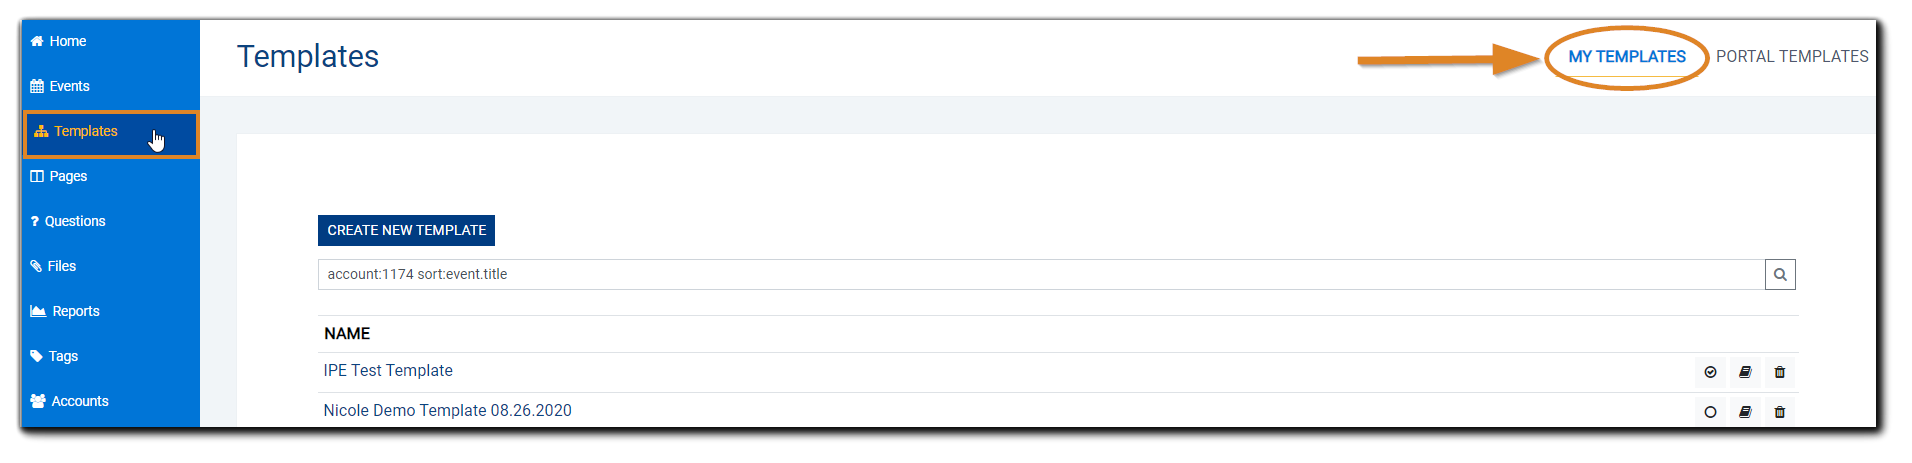
Select Templates as indicated. You will be taken to the 'My Templates' view. Select the radio button next to the Template you wish to make the default for E-publishing:
Once selected, you will receive a notification that you Default Template has been set/updated:
Live Events scheduled from Outlook will be created based on the Organizer's default Template.
Learn more: Templates Overview.
Scheduling Live Events Via Outlook
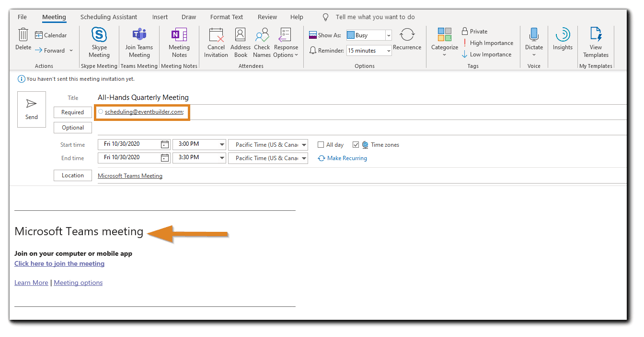
In Outlook, schedule a new Microsoft Teams meeting.

Enter the name of your Event in the Title field.
In the 'To' field, invite scheduling@eventbuilder.com
Select the date, time, and duration of your event in the Teams meeting invitation.
Note: Do not remove any of the default Microsoft Teams meeting information in the body of the email. (Indicated by the arrow below.)
Click Send once the required information has been entered. You will receive an email confirming your Event has been created from noreply@portalname.eventbuilder.com.
Confirm and Customize Your Event
To confirm scheduling and complete any desired customizations, log into your EventBuilder Portal, and access the Events view from your left-hand navigation. Next, select your Event and complete the necessary details.
Canceling an E-published Event
Organizers have the option to cancel their Event from their Outlook calendar. Removing the Event from Outlook will deactivate it in your Portal. Any data associated with the Event is preserved.
Learn more: Deactivating Events.
Rescheduling an E-published Event
If the Reschedule Event automated email is configured, rescheduling from Outlook will trigger the EventBuilder system-generated email notifying Registrants of the change.
.png)