Building Events: Set Up
Last updated: April 27, 2023
Set Up is where Organizers add the Event's description, contact information, and banner graphic.

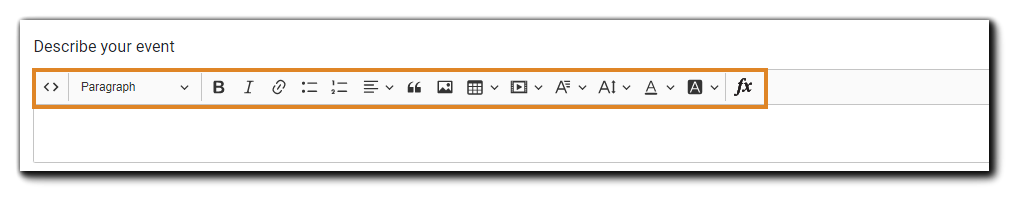
Describe Your Event
Use the editor provided to create a description of your Event. The full-featured editor supports images, header and font styles/colors, iFrame, EventBuilder database variables, and more. You may edit in the WYSIWYG editor (shown) or click on the 'Source' button (< >) on the toolbar to edit HTML directly.
Contact Information
Enter the name and email of your Event's contact. Generally, Organizers take on this role, but it can be assigned to anyone you choose.

Banner
The Banner will appear on the Registration Page and at the top of all email communications for the Event.
The default Banner is set in the Portal-level template. The Portal default cannot be replaced, only overwritten. The 'Clear' button will remove any customized Banner and display the Portal-set default. This step is optional if your Portal-level Template's Banner is sufficient.
To change or add an Event Banner, click on the 'Browse' button.

Note: The recommended width for Banner images is 1400px.
The 'Select File' window will appear.
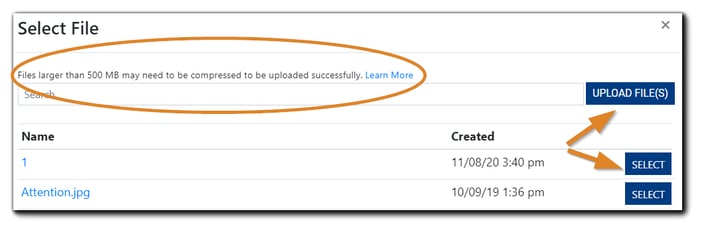 Click the 'Upload File(s) button to add a Banner file to your file repository, then click 'select' to attach it to the Event.
Note: Files larger than 500 MB may need to be compressed to be uploaded successfully. Learn more about EventBuilder's File Upload Requirements.
Background
With the 'Classic' layout, Organizers with Suite-level subscriptions can upload a background image to display behind Event descriptions and page elements. Supported image types: .jpg, .png, .gif.
To add a background image, click on the 'Browse' button:
 Image text: For best results, upload a seamless .jpg, .png, or looping GIF file. The image or GIF will appear as a step-and-repeat pattern. View example here.
The 'Select File' window will appear.
Click the 'Upload File(s) button to add a Background image file to your repository, then click 'select' to attach it to the Event.

Click 'Save & Continue'
.png)