In-Person Events
Last updated: April 27, 2023
Essential and Suite-level Organizers can utilize EventBuilder's powerful Registration and Reporting tools to create In-Person Events for seminars, courses, conferences, meetings, and off-sites.
Building In-Person Events:
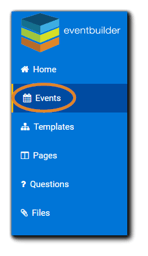
First, navigate to your Events from your dashboard:
From your Events list, click 'Create New Event'
 This will take you to your Event Detail's Schedule section:

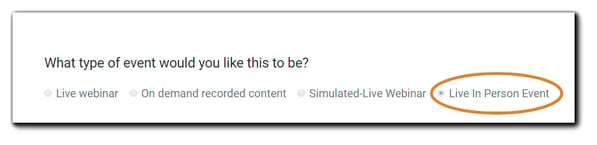
For Event Type, select 'Live In-Person Event:'
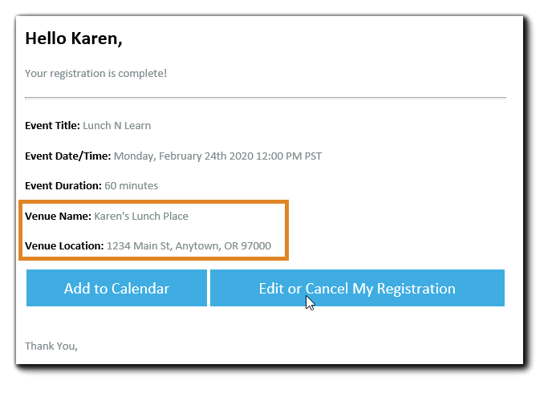
Once you select 'Live In-Person Event,' the options for scheduling and providing details, including venue name and address, will appear below the 'Select Registration Layout' section:
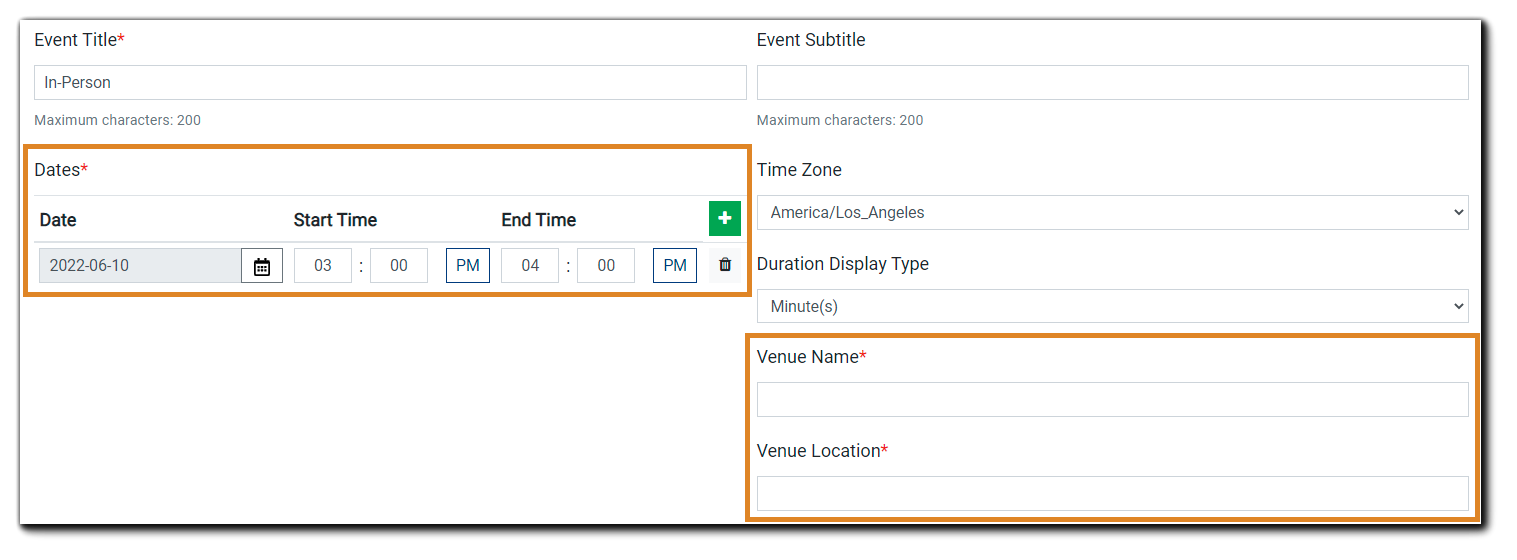
Enter day/time and venue information. Click on the green '+' to add additional days/times (if applicable.)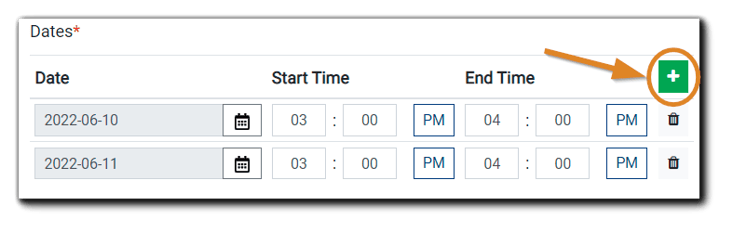
Next, add Presenters, Moderators, and/or additional Organizers.
Presenters and/or Moderators will be displayed on your Registration page. Additionally, adding Presenters/Moderators/Organizers to your In-Person Event will grant them access to the Registrant area in EventBuilder, where they can assist Attendees with check-ins, on-the-fly changes, and attendance tracking.

Learn more about: Event Management Roles.
Learn about: Presenter/Moderator Access.
Communication
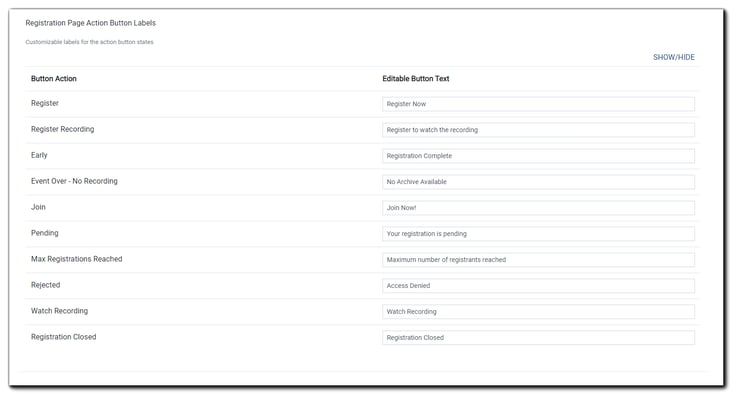
Custom Registration Page Action Labels
To customize labels on action buttons, navigate to the Registration Page Action Button Labels section in the Extras area of your Event build. There, click 'Show/Hide' to open the dialog. The following will appear:
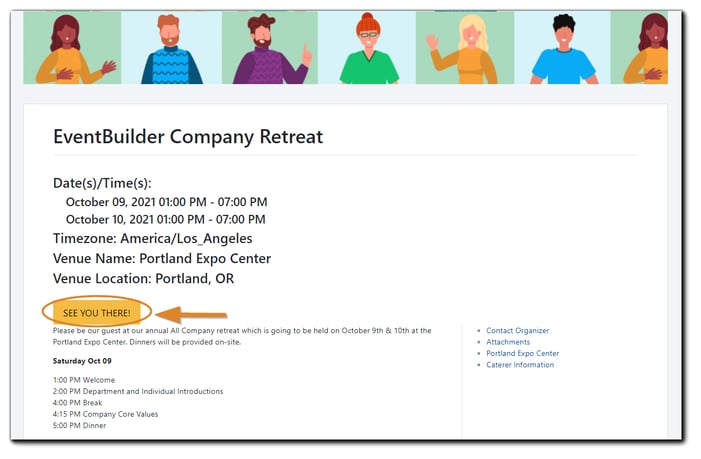
We suggest customizing the button label text to suit your In-Person Event's details. (Sample Registration Page with customized button label:)
Once all other Event details have been set up, click 'Save & Continue' to complete your Event build.
Attendee Check-in
To check Attendees into the Event, Organizers or assigned staff with a Guest Account will log in and navigate to the Event.
From the left navigation, click 'Events.' This Event list will appear. Select the Registrants icon from the options provided:

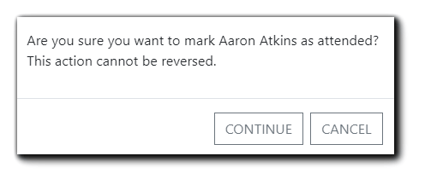
The Registrant page will appear. To mark a Registrant as attended, click on the checkbox icon.
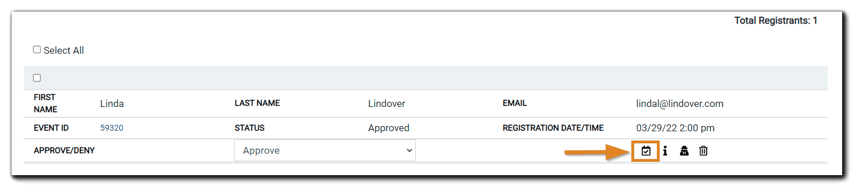
A confirmation dialog will appear. Click 'Continue' to mark the registrant as attended, or 'Cancel' if you wish to stop the check-in process for your attendee. Note: Once an Attendee has been checked in, this action can't be undone.
The checkbox icon will no longer appear on the Registrant's record, indicating they have been checked in to the Event.
 Video Training: In-Person Events
.png)