Building Listing Pages: Extras Step
Last updated: May 9, 2023
The last step in the Listing Page build process, select and configure your page's additional customizations and options.
Additional Customizations
Select from the following:
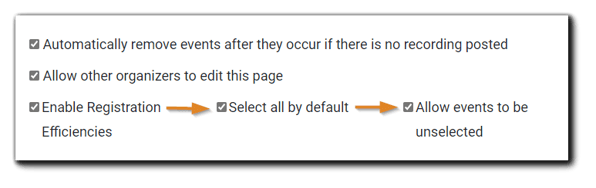
Remove Events option - Selected by default. Deselecting this option results in the Event displaying "No Archive Available" on the page.
Allow other Organizers to edit this page - Allow other Portal Organizers to customize this Page for their use. Otherwise, only the Organizer who created the Page can edit.
Enable Registration Efficiencies - Allows Invitees to enter their information a single time and register for all of their selected events at once. Organizers can further customize the Registrant's experience with options for 'Select all by default' and 'Allow events to be unselected'
Featured Events
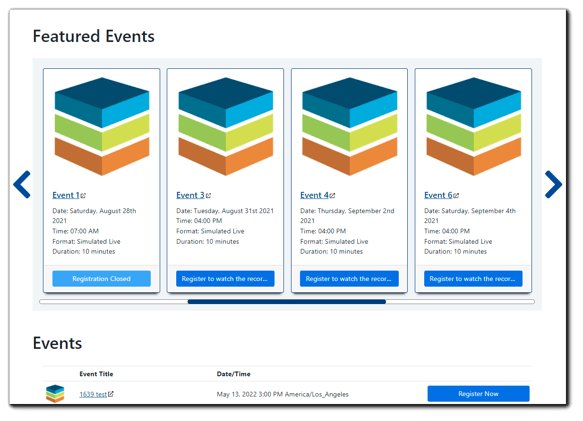
Organizers can tag specific Event(s) to be featured prominently on their Listing Page (optional). Featured Events appear on the Page in the Card Style format. To maximize readability, we recommend selecting either Table or Calendar Display Style for your non-featured Event listings.
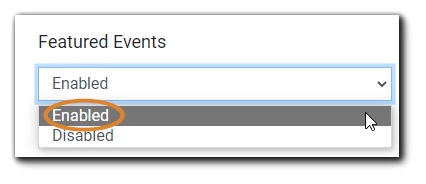
To add a 'Featured Events' section to your Listing Page, click on the 'Featured Events' dropdown and select 'Enabled.'
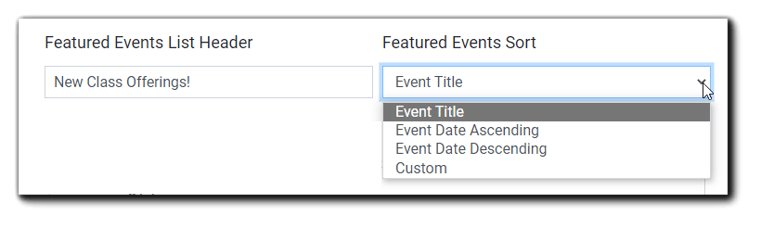
Next, enter the desired text in the 'Featured Events List Header'' field, and select a default sort order.
Next, click on the 'Featured Events Tags' dropdown menu.
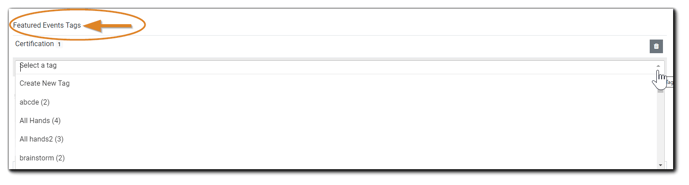
Select the Tag associated with the Event(s) you wish to feature prominently on your Listing Page.

Note: The Events you wish to feature must have the same Tag associated with them.
Learn how to add Event Tags
Sample Listing Page with Featured Events enabled:
Search Filter Settings
Search Filter Settings provide Organizers the flexibility to broaden or narrow Invitee search results and sort them. Choices for filtering include:
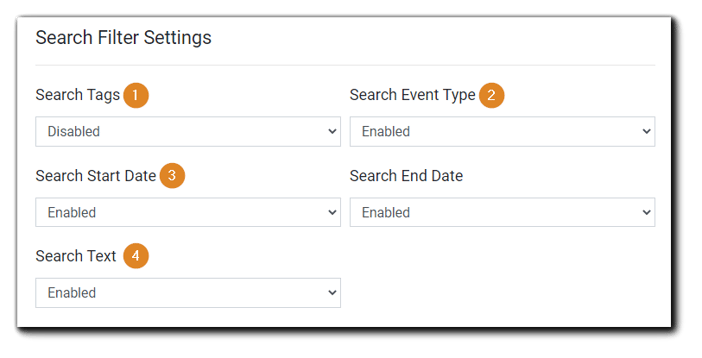
- Tags - Invitees can search for events by specific Tags that Organizers have chosen to include.
- Event Type - Provides Invitees with results based on the types of events Organizers have made available: Event Type options are Live Events, On-Demand, or Both.
- Start Date/End Date - Enabling Search Start Date and/or Search End Date sorts results accordingly, so Invitees can see quickly when the event(s) they are interested in are occurring.
- Search Text - Allows Invitees to search for Events based on words or characters.
Source Tracking
With Source Tracking, Organizers can add an unlimited number of unique registration links for each of their channels and segments used to invite Attendees.
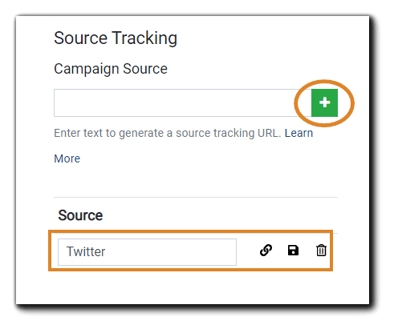
To add a campaign source link, enter the name of the source you wish to track, e.g., Twitter, LinkedIn, and click on the green 'plus' button.
After clicking on 'Save,' a Source Tracking confirmation dialog will appear. Copy the link by selecting the link icon. Organizers can add as many unique URLs as fits their needs.
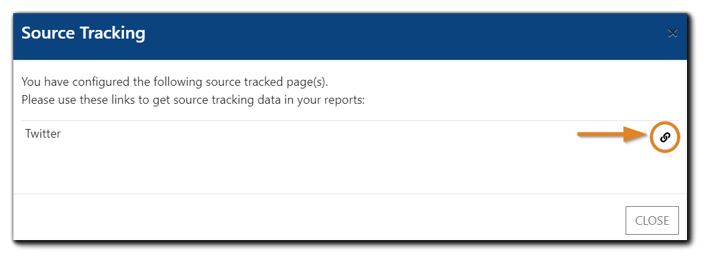
Image Text: You have configured the following source tracked page(s). Please use these links to get the source tracking data in your reports.
Learn more: Source Tracking.
Co-Brand Logo Image/Co-Brand RedirectOrganizers can add an additional company's logo and URL redirect on their Listing Pages. The logo appears on the upper right corner on the page ribbon.
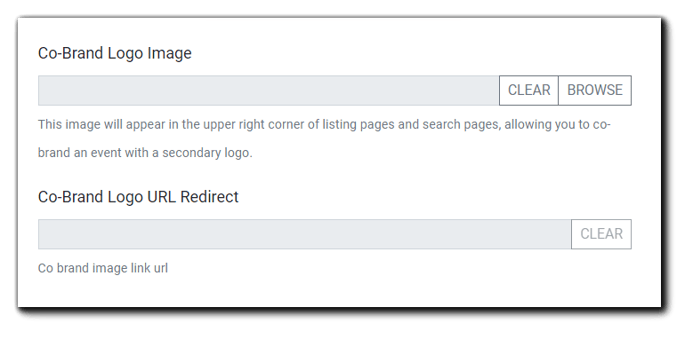
Image Text: This image will appear in the upper right corner of listing pages and custom pages, allowing you to co-brand an event with a secondary logo.
Click on the 'Browse' button to select a logo image from your File Repository. Next, enter the URL you wish to redirect Registrants to.
Embed Code
Organizers have the option to embed their Event's registration form to provide a consistent look and feel with their website or other HTML-supported asset. Note: Embed code is set to display Listing Page in 'List/Table View' only.
Copy the code (in red) included and paste where appropriate on your website.
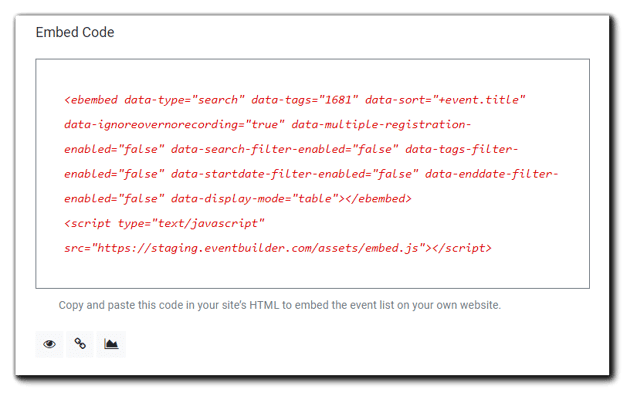
Image text: Copy and paste this code in your site's HTML to embed the event list on your own website.
View, Link, and Report Icons
View , Link , and Report Icons are located below the Embed Code section.
Click on the 'View' icon to preview the Listing Page. To copy the URL, click on the 'Link' icon.
To request a report with the page's selected filters in place, click on the 'Report' icon. The Request Report dialog will open. Select the Report Type and additional data filters, then click 'Send/Save.'
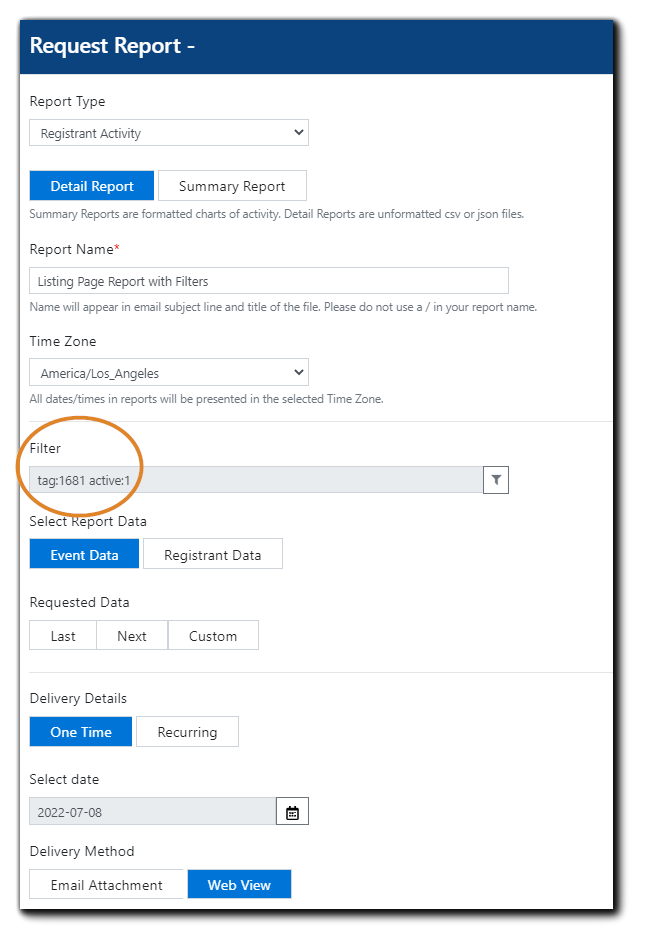
Learn more: EventBuilder Reports
Click 'Save'
.png)