Managing and Building Templates
Last updated: May 9, 2023
Understanding how to access, create, edit, and convert Templates are an important part of Template management.
Accessing Templates
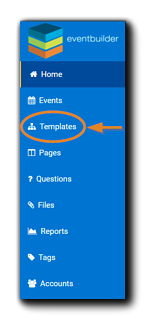
To view, create, or edit your Portal-level and Organizer-level Templates, use the left navigation and select 'Templates.'
 Click on My Templates to view a list of your Organizer-level Templates:

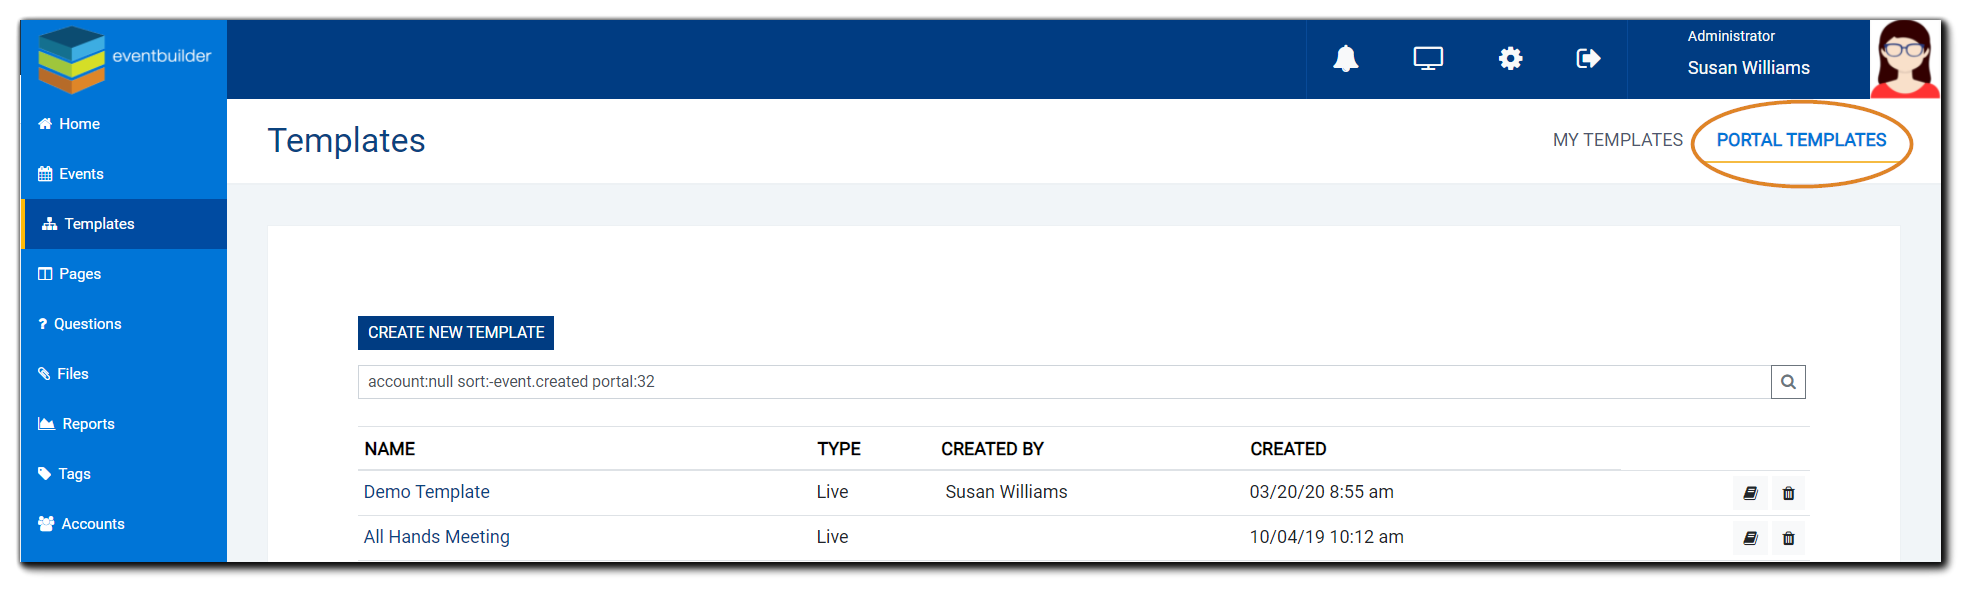
Click on Portal Templates to view a list of Templates available to all subscribers:
Actions
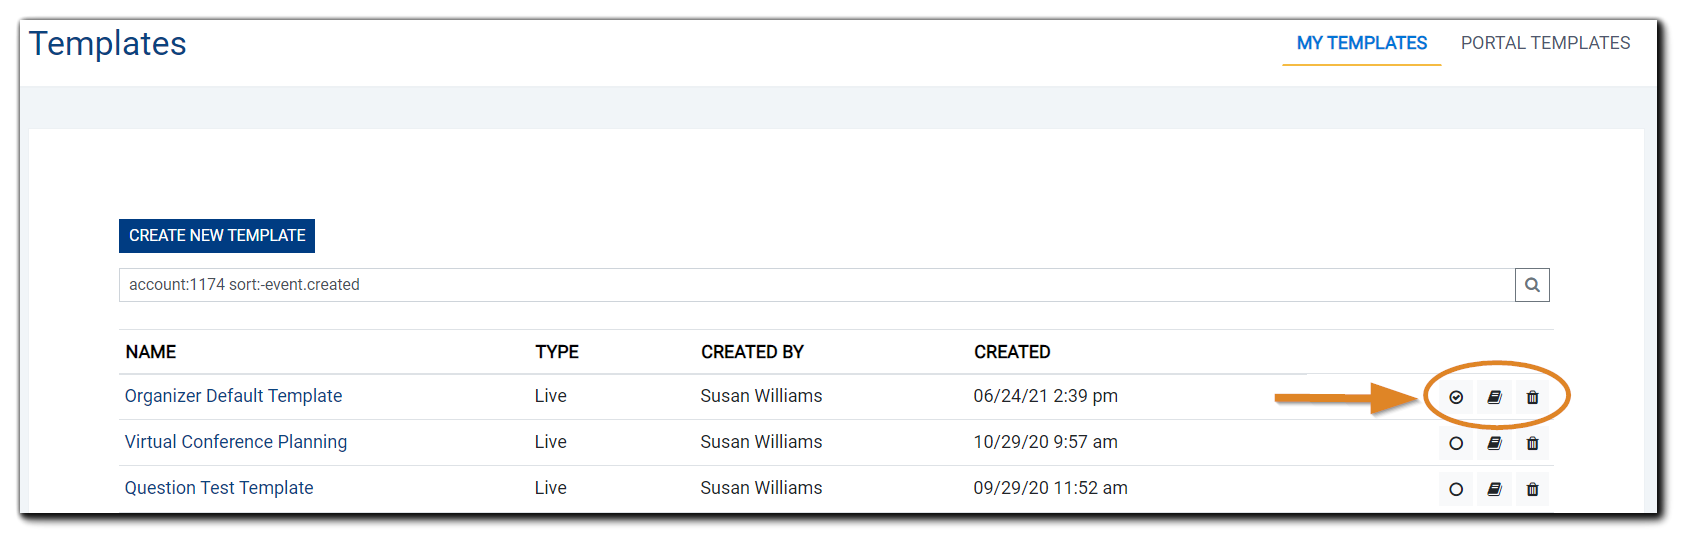
Under both My Templates and Portal Templates, actions can be taken via the icons to the right of each Template on the list.
Organizer View:

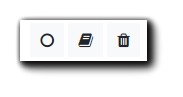
Radio button - Set Organizer's default Template (will be used when e-publishing)
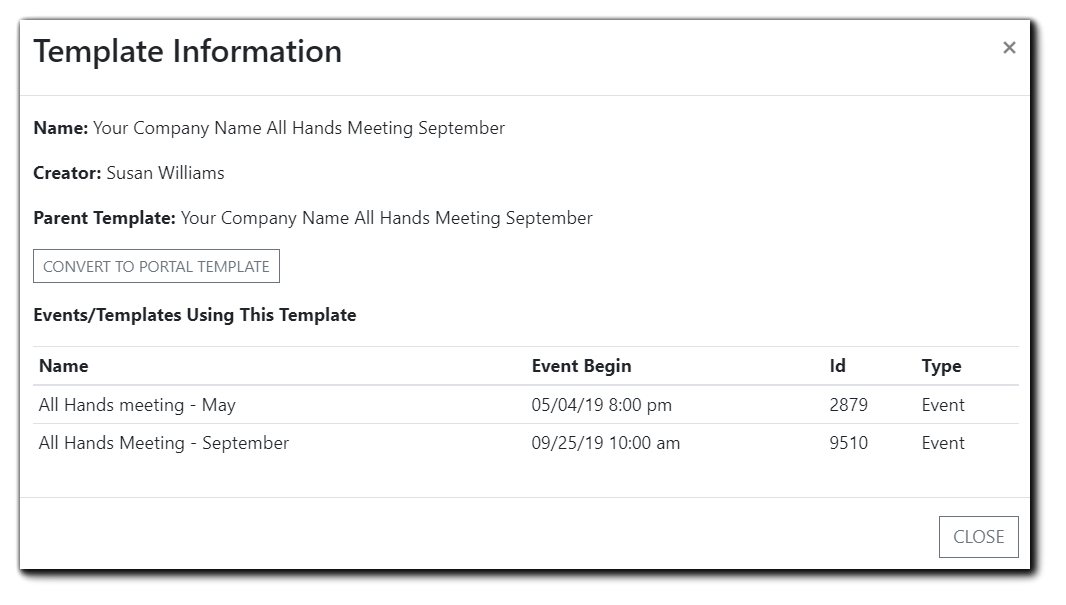
Book icon - Opens window with details about the Template, including name, creator, Parent Template, Convert to Portal button (Admins only) and a list of Events/Templates using the selected Template:
Trash icon - Delete selected Template.
Templates with associated Events and "child" Templates cannot be deleted. A Conflict window will appear informing you of which Events are associated with the Template:
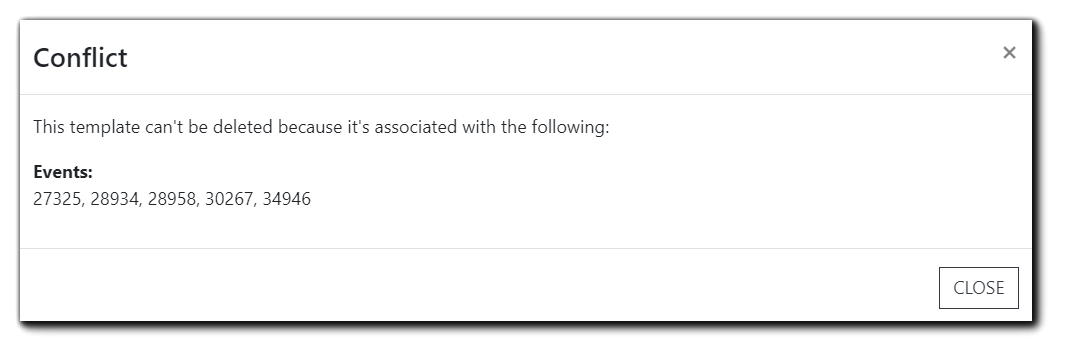
To complete deletion of a Template, either delete the conflicting Events, or navigate to the Extras step and manually select an alternate Template on each individual Event to remove any conflicts.
If no conflicts exist, a confirmation dialog will appear:
Click 'Yes' to confirm and delete the selected Template.

Creating Templates
Select Create New Template from the main Templates dialog:

The following options will appear:

Start From Scratch
Select 'Start from Scratch' and 'Continue,' The new Template will inherit the properties of the Parent/Portal Template.
Select an Existing Template
To create a new Template using an existing Template as your foundation, choose 'Select an Existing Template.' The following will appear:
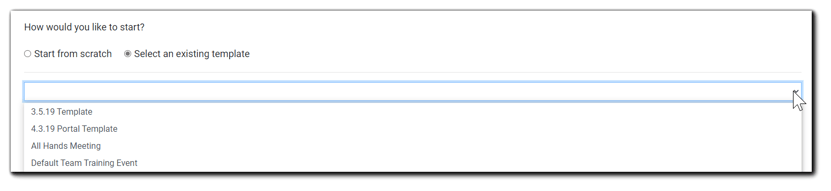
Choose the Template you wish to use to build your new Template. The new Template will inherit the properties of your selection.
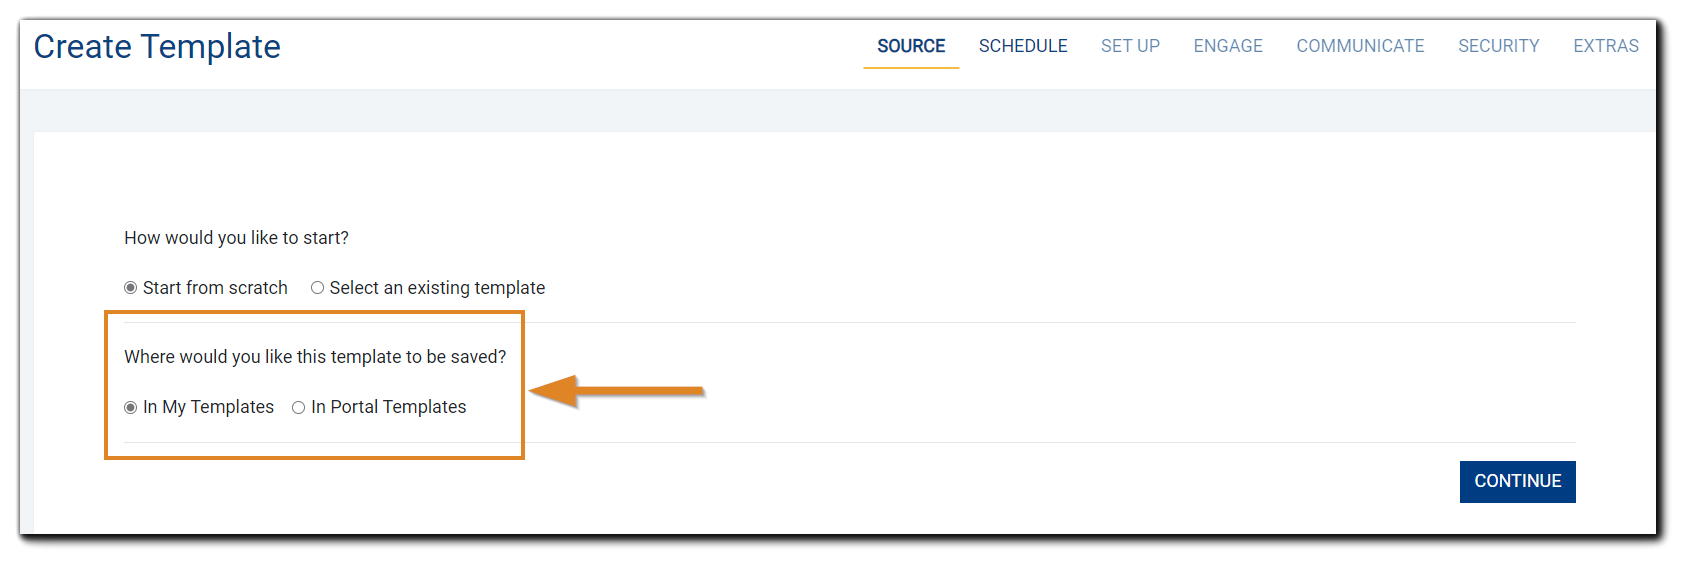
For Portal Administrators, after selecting Create New Template they will have the additional option to save the new Template in their "My Templates" area, or as a Portal-level Template:
Setting Default Templates
Portal Default Template
Setting the Portal Default Template is typically done at the time of Portal Configuration. For instructions, please refer to the Portal Configuration Knowledge Base article.
Setting Organizer Default Template
Select 'Templates' from the left navigation.
On the main Templates dialog, the Organizer's list 'My Templates' will appear. Select the radio button on the Template you wish to set as your default when e-publishing.
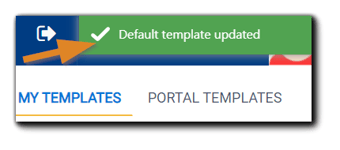
Once selected, a confirmation will appear in the upper right corner:
Editing Templates
Editing a Template will affect all Events (past and future) and other Templates created from that Template. For example:
Company A rebranded and updated their logo. Changing the banner on the Portal-level Template will change the banner for each “child” Template and every Event created with the Template.
Changes to a Template affects all* Events and "child" Templates will reflect the change. (There are exceptions to this scenario. For more info see Template Inheritance.)
Have additional questions? Get help from one of our Software Success product experts at an Ask Me Anything live webinar .
Convert Template
Administrators can convert any Organizer-level Template to a Portal-level Template. Once converted, the Template will be available to all subscribers on the Portal.
Navigate to the Accounts section on your Dashboard: 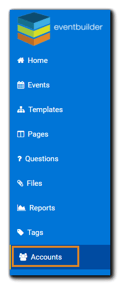
Find the Organizer whose Template you wish to convert to the Portal-Level, then click on the Templates icon:

A list of the Organizer's Templates will appear. Select the Template you would like to convert to Portal-Level and click the Book icon:

The following dialog window will appear:
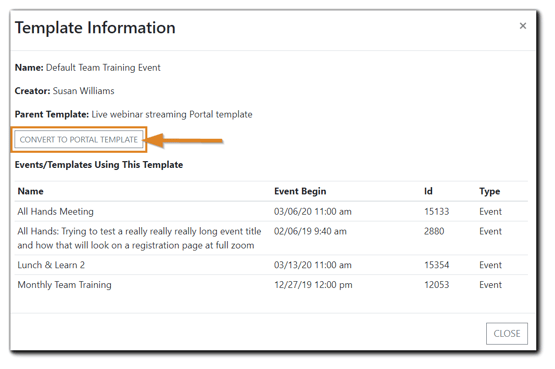
Click on the 'Convert to Portal Template' button. The selected Template will now appear in the 'Portal Templates' section. Note: This action is only available to Portal Administrators.
Changing a Template on an Event
Organizers can change chosen Template on an individual Event. Please refer to Changing Templates for instructions.
Templates Administration and Permissions
Note: Organizer permissions listed below are dependent on a Portal Administrator granting the User Account holder's access to Templates. See User Account Management.
| Action | Administrator | Organizer |
| Set Portal Default Template | ||
| Set Templates Permissions | ||
| Create Templates | If enabled by Admin | |
| Add/Edit Portal-Level Templates | ||
| Add/Edit Organizer-Level Templates | If enabled by Admin | |
| Set Organizer E-pub Default | ||
| Access/Use Portal-Level Templates | ||
| Convert Template to Portal-Level | ||
| Change Template on Event | ||
| Delete Templates - Organizer-Level | ||
| Delete Templates - Portal-Level |
Training Video: Building Templates Step-by-Step
.png)